As of April 18, 2024, 23:10 (UTC), this page is being redeveloped by Lich Diet.
Feel free to contact the editor with any suggestions or comments, but please do not make any significant changes to this page until this banner has been removed. |

|
The Altar Level is the initial interior floor of the Watcher's Keep. It can only be accessed if Odren has opened the metallic dome on the roof of the keep. Odren only does this if the party has agreed to assist the Knights of the Vigil with their plea for help to strengthen the seals and wards inside the keep using the Ritual Scroll.
Area description[]
This area has 12 rooms. The largest is the great hall which traverses the center of the area. The floor is divided by many doors, of which only one is locked and requires a special key to open.
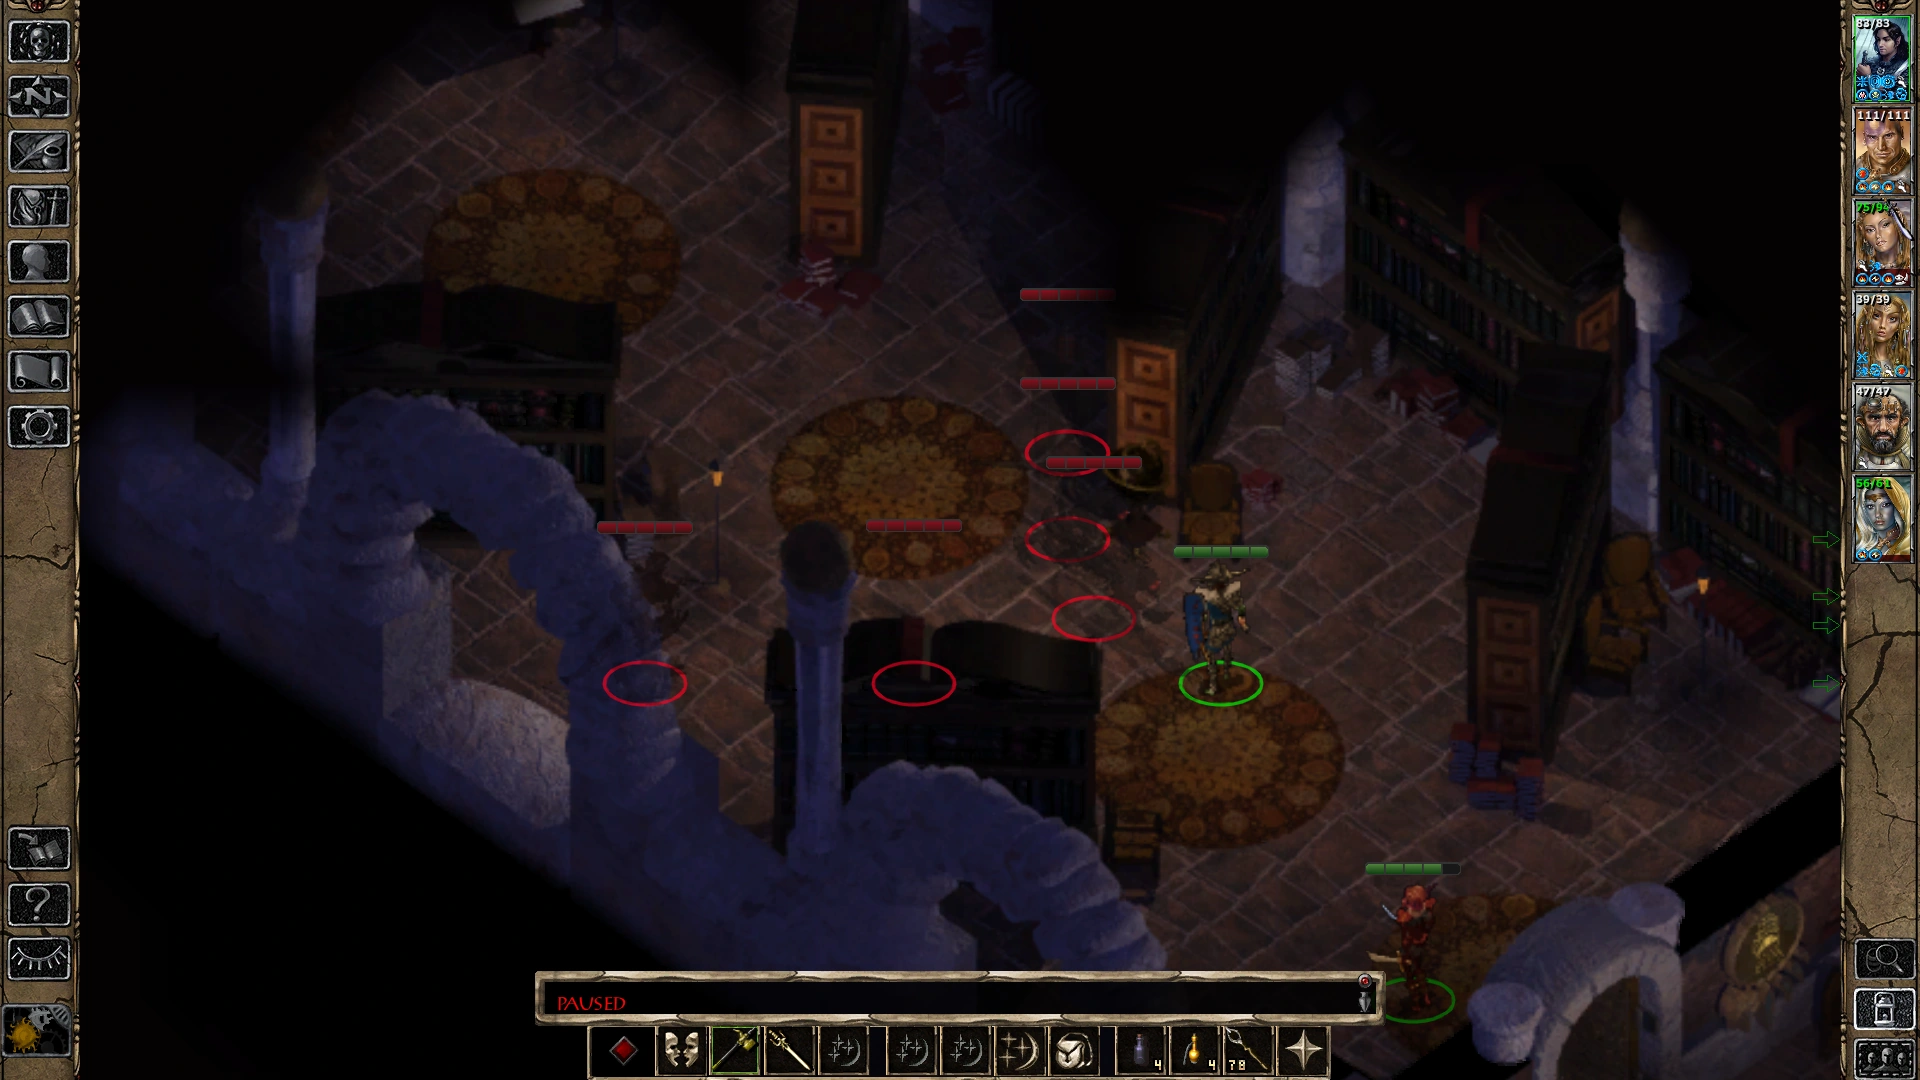
The great hall has arched supports and leads to a massive statue and altar at the far end. Along the way are a variable number of realistic lifelike statues. The number varies based on the player's bhaalspawn experience when visiting the keep for the first time. It can be as low as 6 and up to 12 statues. If the party enters WK in the early stages of Baldur's Gate II: Shadows of Amn and if the experience level is about 500K, then then some statues are erased from the game at that point. See the screenshots in the Gallery section below for comparison of an under leveled party to one that meets the Dungeon's experience level criteria.
Elsewhere on this level are two large library chambers, a few living quarters rooms, a Crypt, and a kitchen. This level was a temple of sorts at one time, with amenities for the attending priests of Helm and the archivist staff.
Primary goal for this level[]
The goal is to explore this dungeon, gather any useful objects and information, and find a way to continue below to the other levels - so that the Ritual Scroll can be employed to reinforce the keep's seals.
At a certain point in the exploration, the player's Journal will register a new quest entitled Open the portal to the temple's lower levels. In essence, this quest is the player's primary goal for the Altar level.
Resting on this dungeon level[]
If the player wishes to rest the party, consider just walking back outside the level to the rooftop of the Keep and resting there. In that location the party will not be disturbed or interrupted while having a snooze.
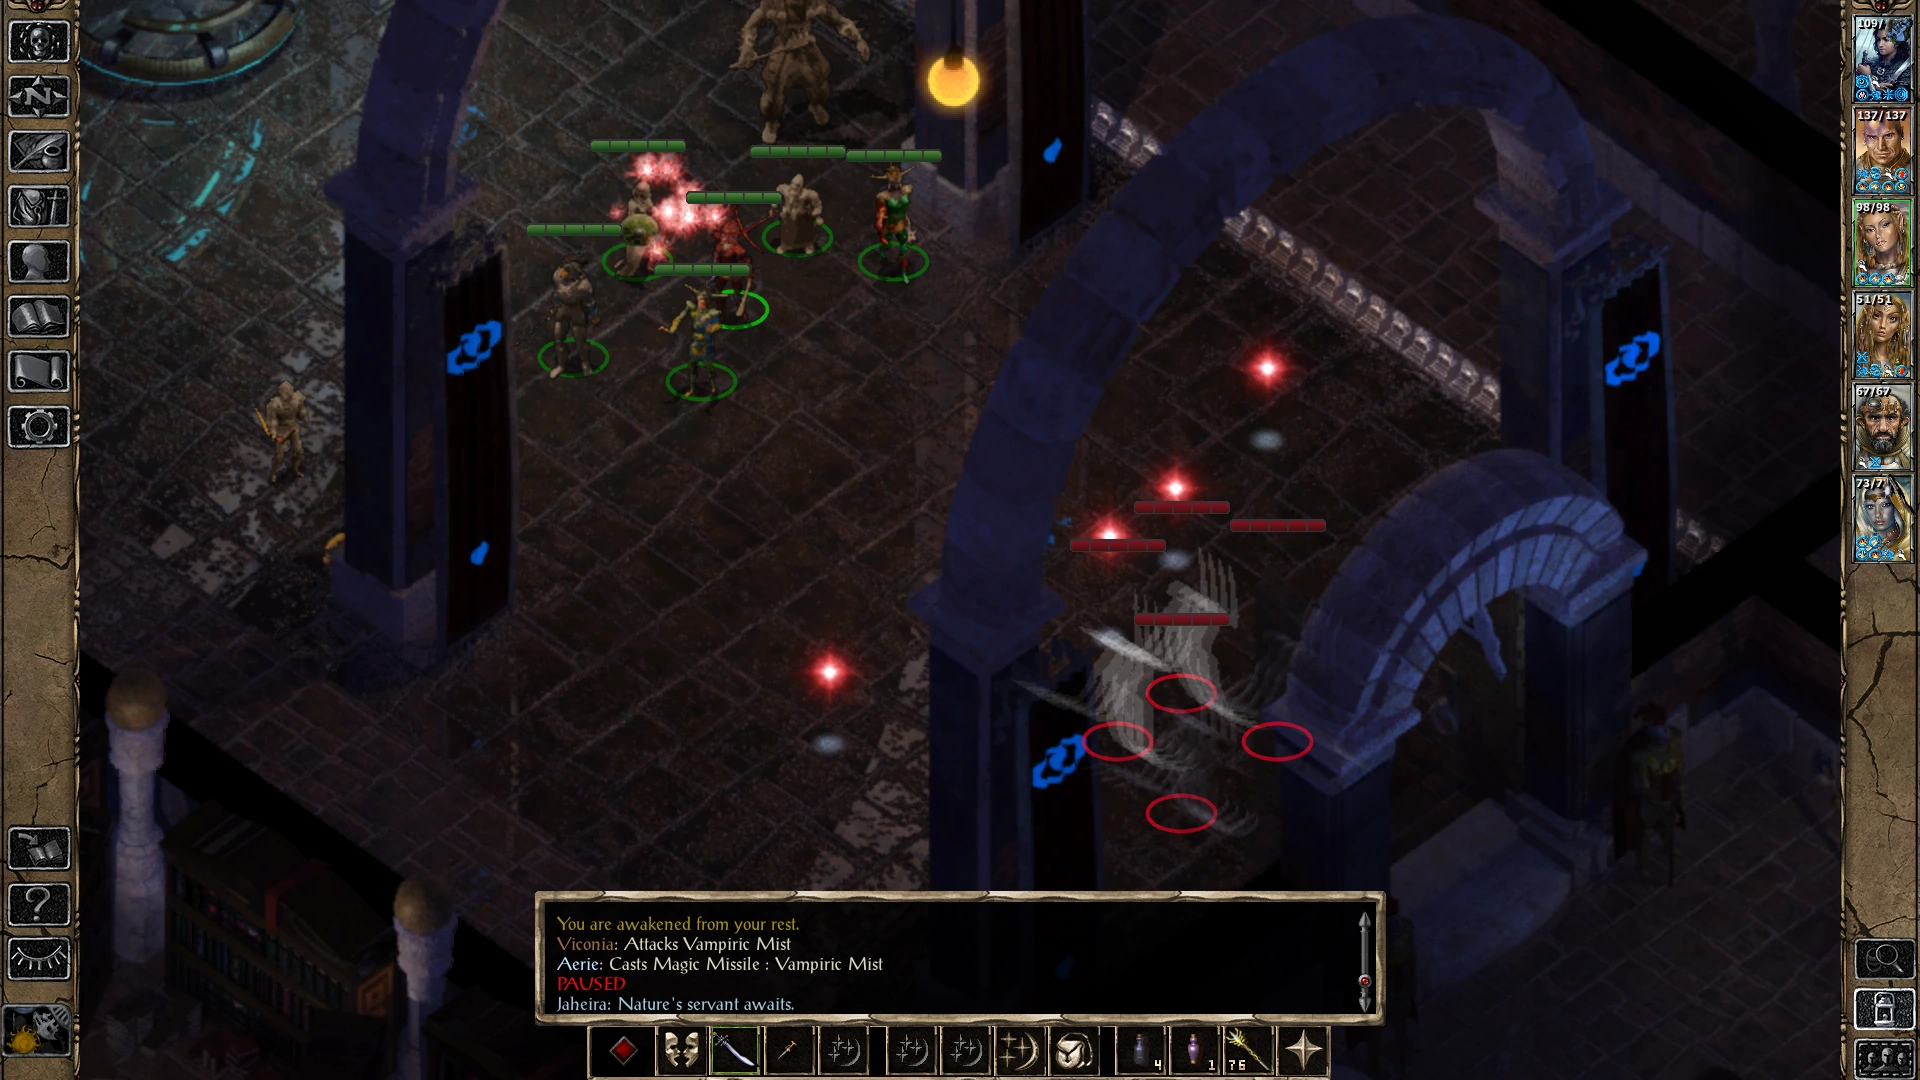
If the party rests on this dungeon level, there is a chance of generating a hostile rest encounter. In general, the rests are more likely to be disturbed if selecting the main hall as the resting spot. Taking a respite inside a side room, especially with the door closed, will be safer. The daytime is generally safer than the nighttime as far as the probability for a sleep encounter.
If a random rest encounter occurs, it will generate 1 to 4 Mist creatures, such as a Vampiric Mist, Mist Horror, or similar mixtures.
On the map[]
- Automap marker "Exit" (
2336.1826) - Automap marker "To the Lower Reaches" (
1430.1183) - Automap marker "Fireplace" (
293.1076) - Automap marker "Altar" (
876.811) - Automap marker "The Priest's Crypt" (
1373.756)
Gameplay and walkthrough (abbreviated)[]
Entrance chamber[]
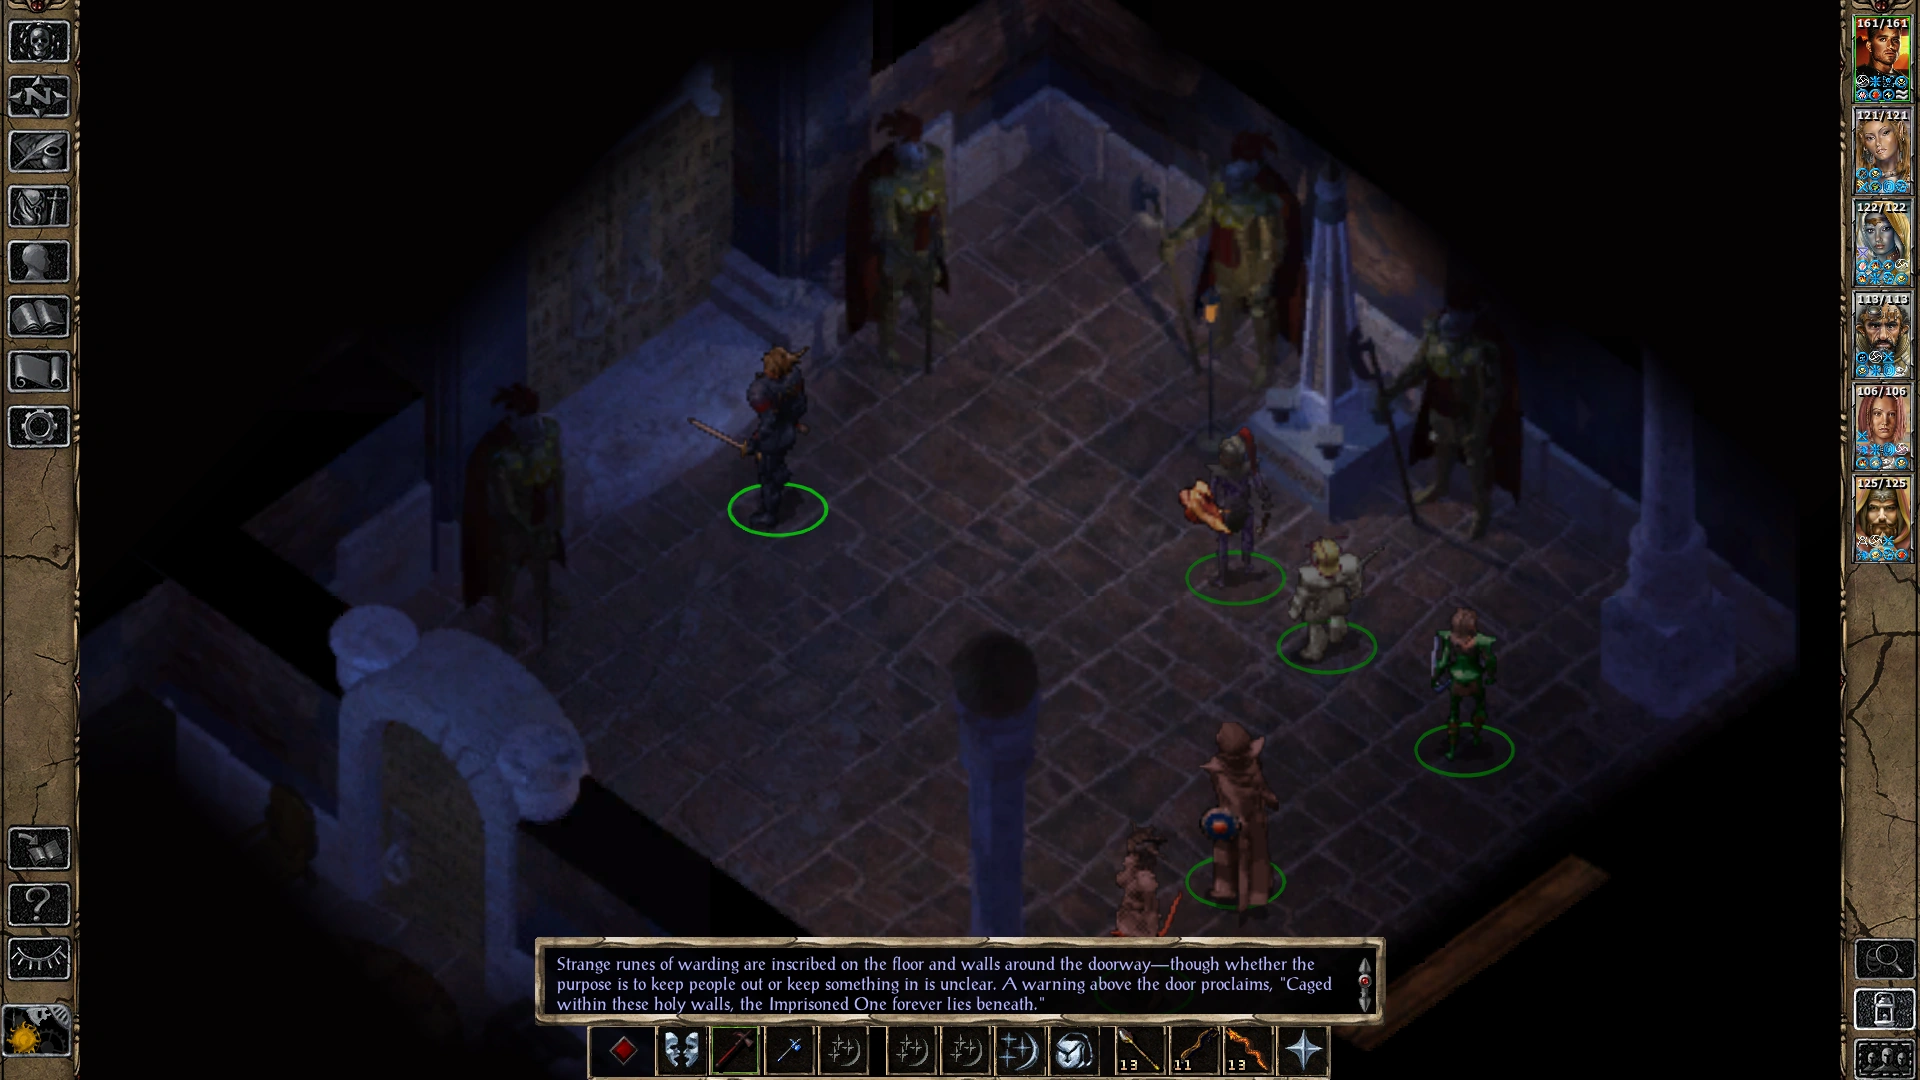
Upon entry to the keep's altar level, a square room decorated by symbolic statues of Vigil Knights is seen. Ahead is a grand set of double doors which are currently closed. If a party member approaches these doors a text is displayed on the player's game screen:
- "Strange runes of warding are inscribed on the floor and walls around the doorway—though whether the purpose is to keep people out or keep something in is unclear. A warning above the door proclaims, "Caged within these holy walls, the Imprisoned One forever lies beneath."
Another doorway to the west is closed as well.
For now, the party will leave the double doors alone, and try the western door.
The Archivist[]
From the Entrance chamber, open the door and move west into the next room.
Some cabinets are seen, as well as a great trunk or sea chest on the floor.
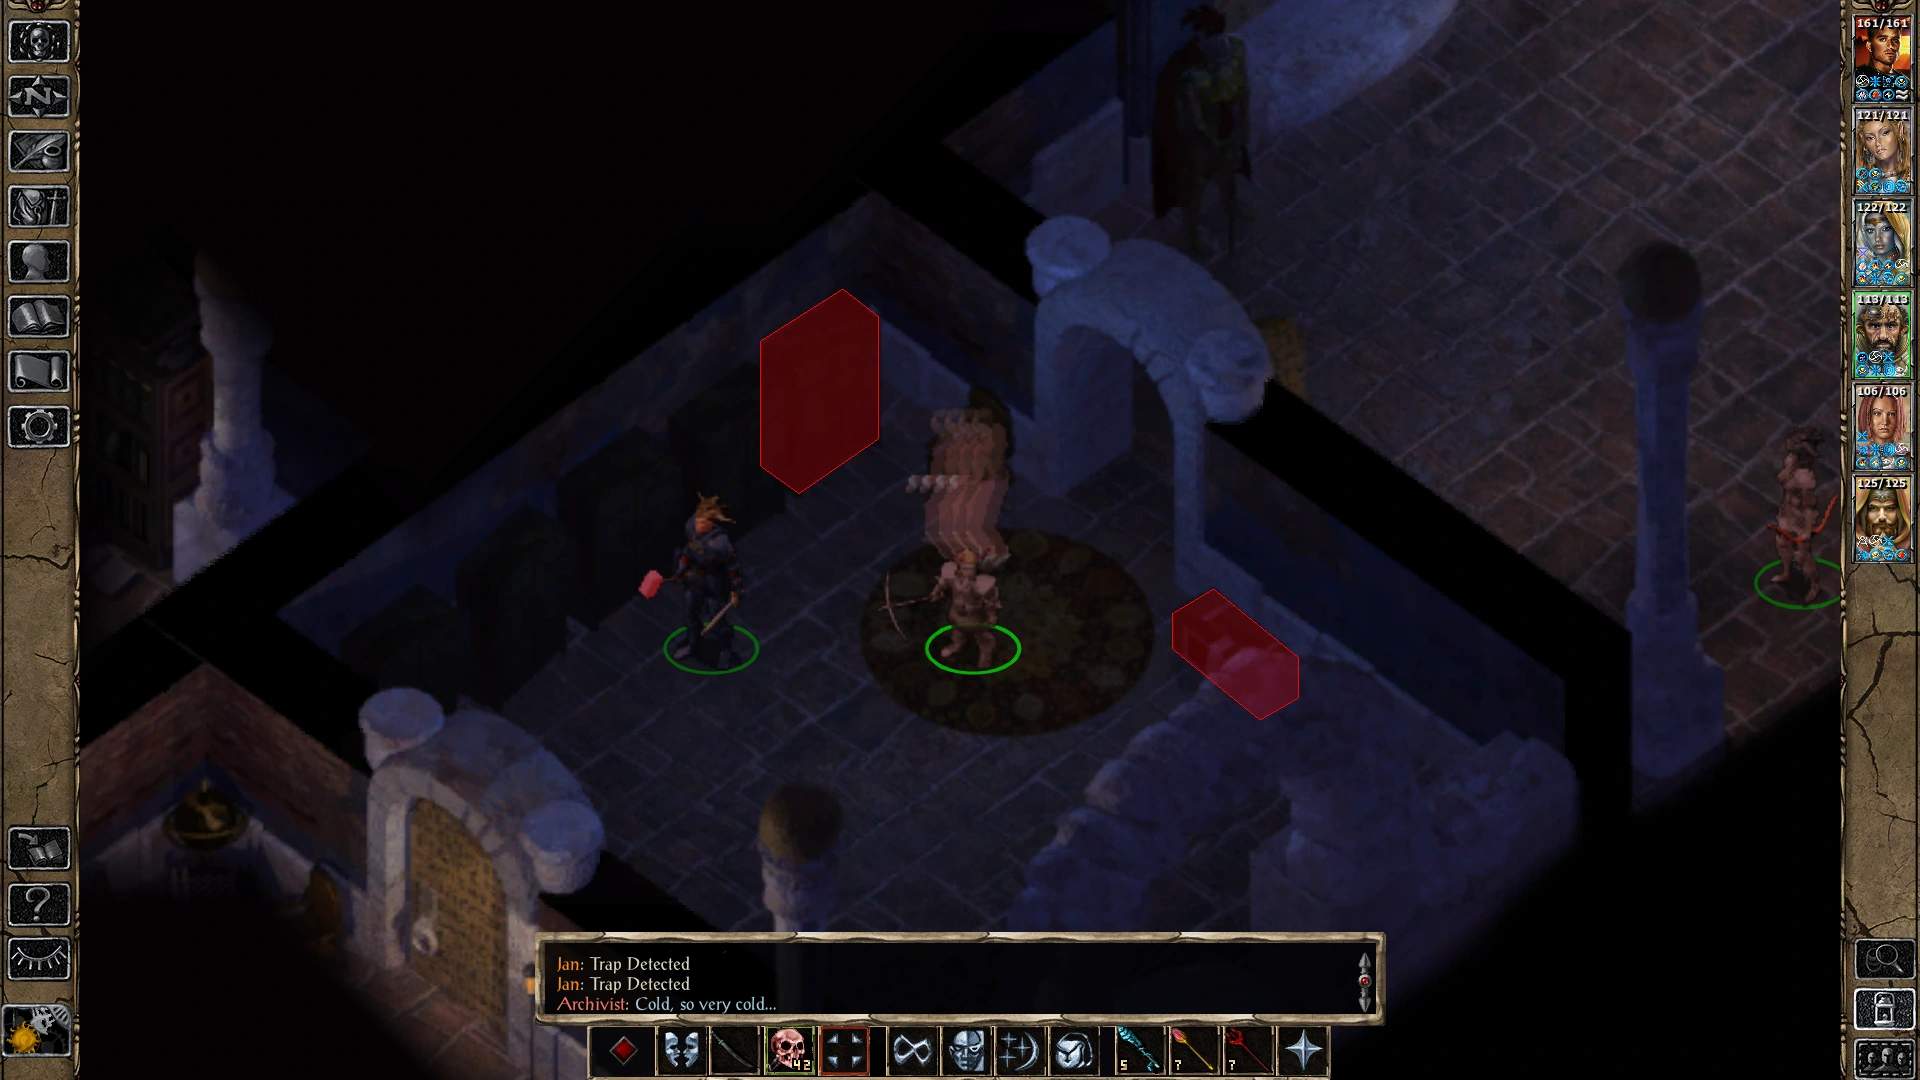
A few moments after entering, a swirling disturbance of the atmosphere is observed and a ghostly figure coalesces within the room. The figure looks insubstantial. A hollow whisper is heard saying - "Cold, so very cold..."
Trying to initiate dialogue with the figure, identified on screen as Archivist, results in a repeat of the same phrase and no more. The ghost seems to be wandering very slowly without any notice toward the party at all.
The containers in the room can be examined. As is good practice, expect some being locked, and always survey for traps. Take any desired items found within. The Archivist cares not.
There is another closed door to the west.
The Stone Golem[]
Through the next door to a room that is the keep's southeast corner.
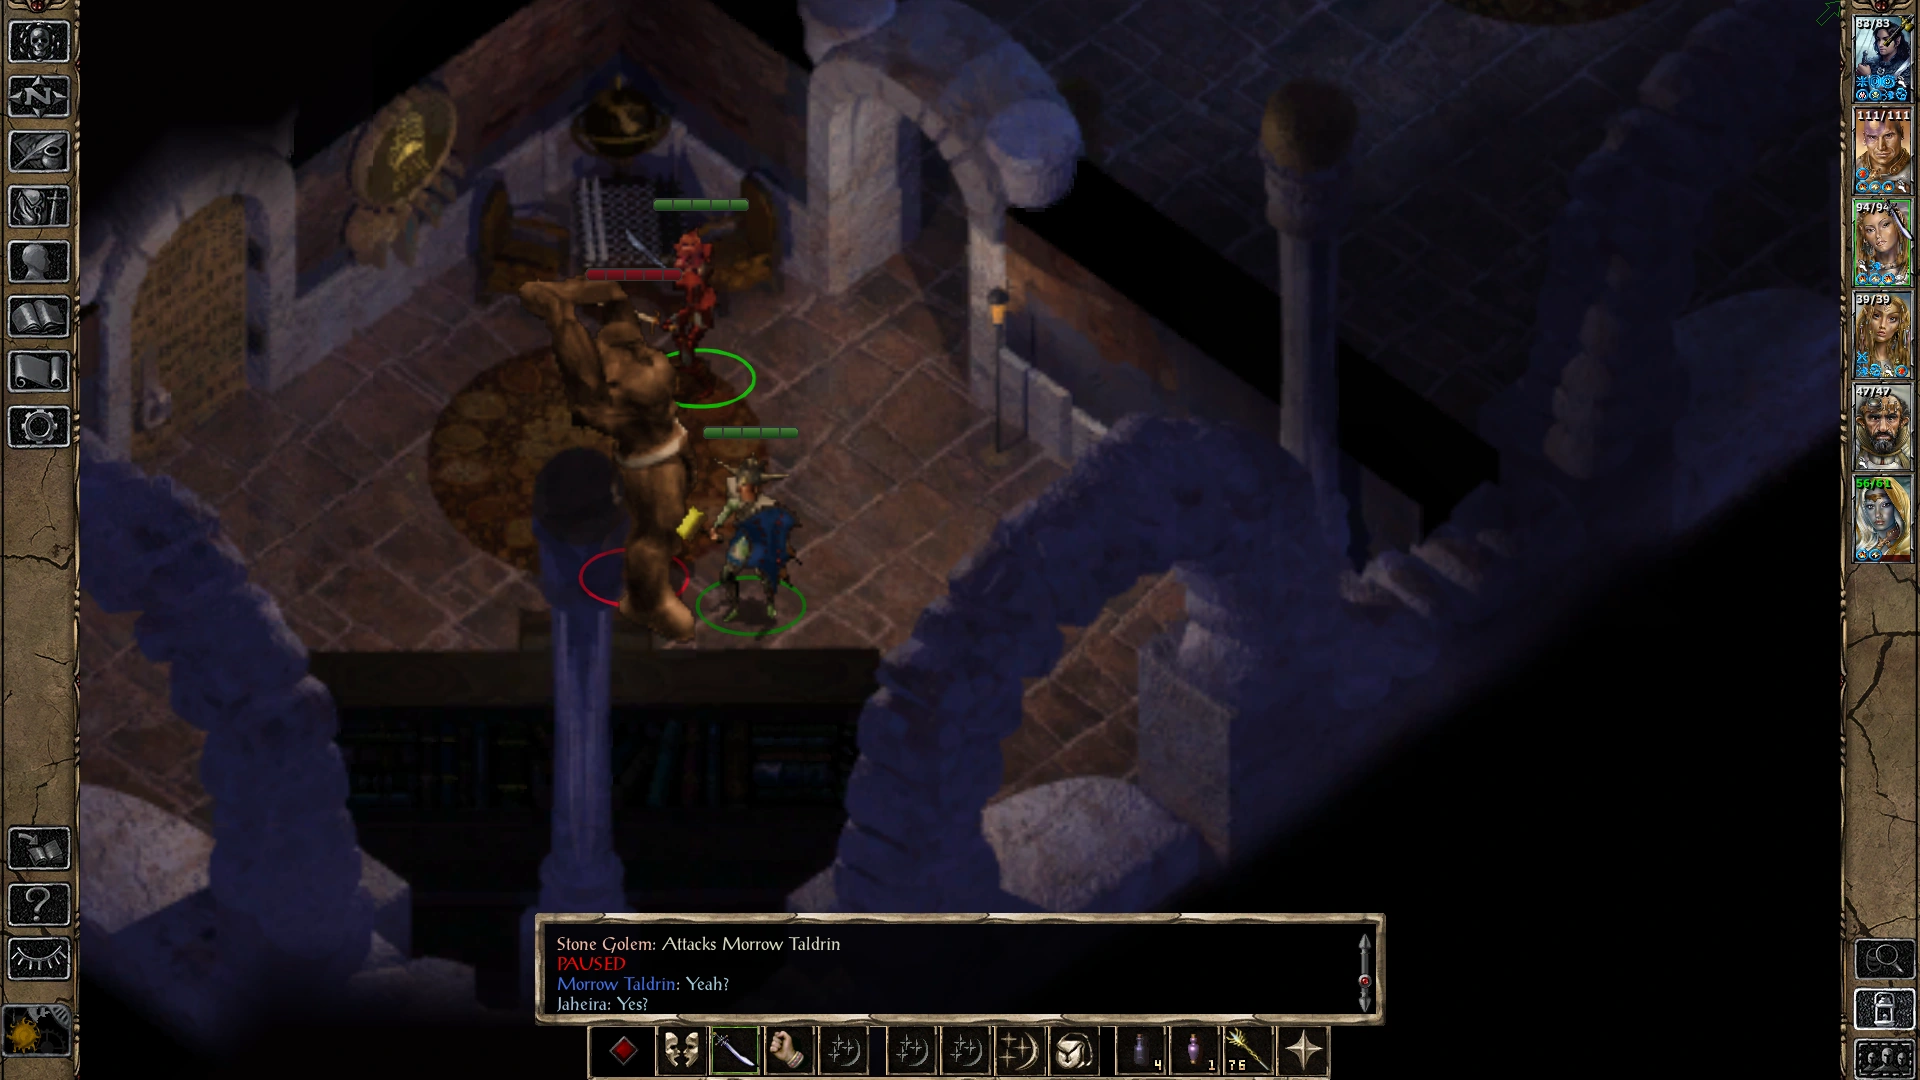
No time is allowed before a Stone Golem guardian attacks.
The construct can be avoided by closing the door until ready to go back inside. Or a party member could be made invisible or hidden.
Probably best to just rid yourself of this nuisance and destroy it. The room has no found items or containers. There is a closed door leading north bound.
The Library (West)[]
Through a closed door is a dusty library ahead, it's quite large.
This room is a random enemy spawn zone, with Undead shadow creatures present at lower-level experience, and mixed troll group at levels closer to the level's challenge design criteria.
As soon as any of the creatures detect a party member, the creatures will move forward to attack.
Watch out for Shadow Fiend, Wraith and Shadow creature group.
Take care to watch for level drain, and ability score drain if you face the undead.
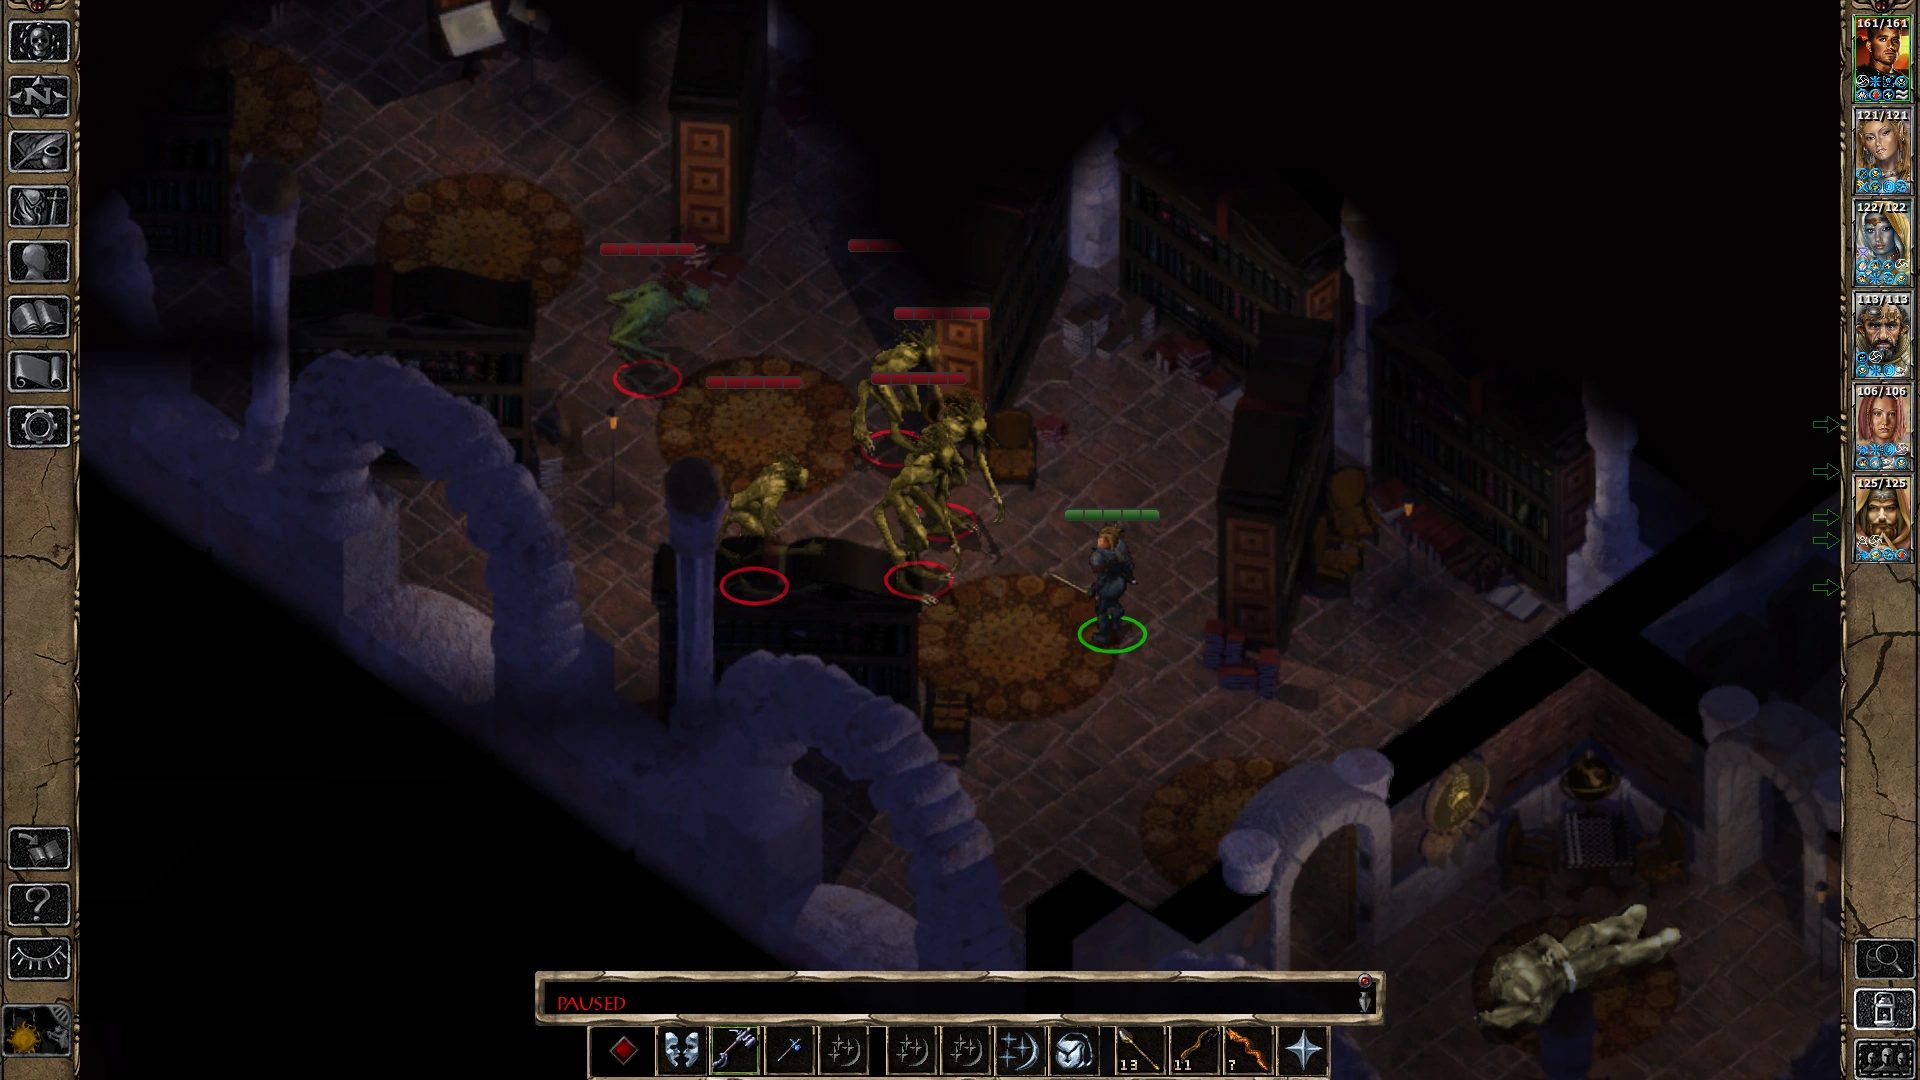
With a higher XP party, there may be Spirit Troll, Spectral Troll, and ordinary Troll giant humanoids group.
Dispatch the enemies so the library can be searched unmolested.
There are three shelf units with items that can be taken, as well as a chest. Take whatever you desire.
Of note is a book, titled Elminster's Ecologies: Appendix IIIa. A read through of the tome discusses several creature types that are introduced into the game for the Throne of Bhaal.
The only way forward is through a closed door on the north wall.
The Museum study room[]
Into the next chamber is a smaller room, with some furniture, shelving and writing credenza, and a chest.
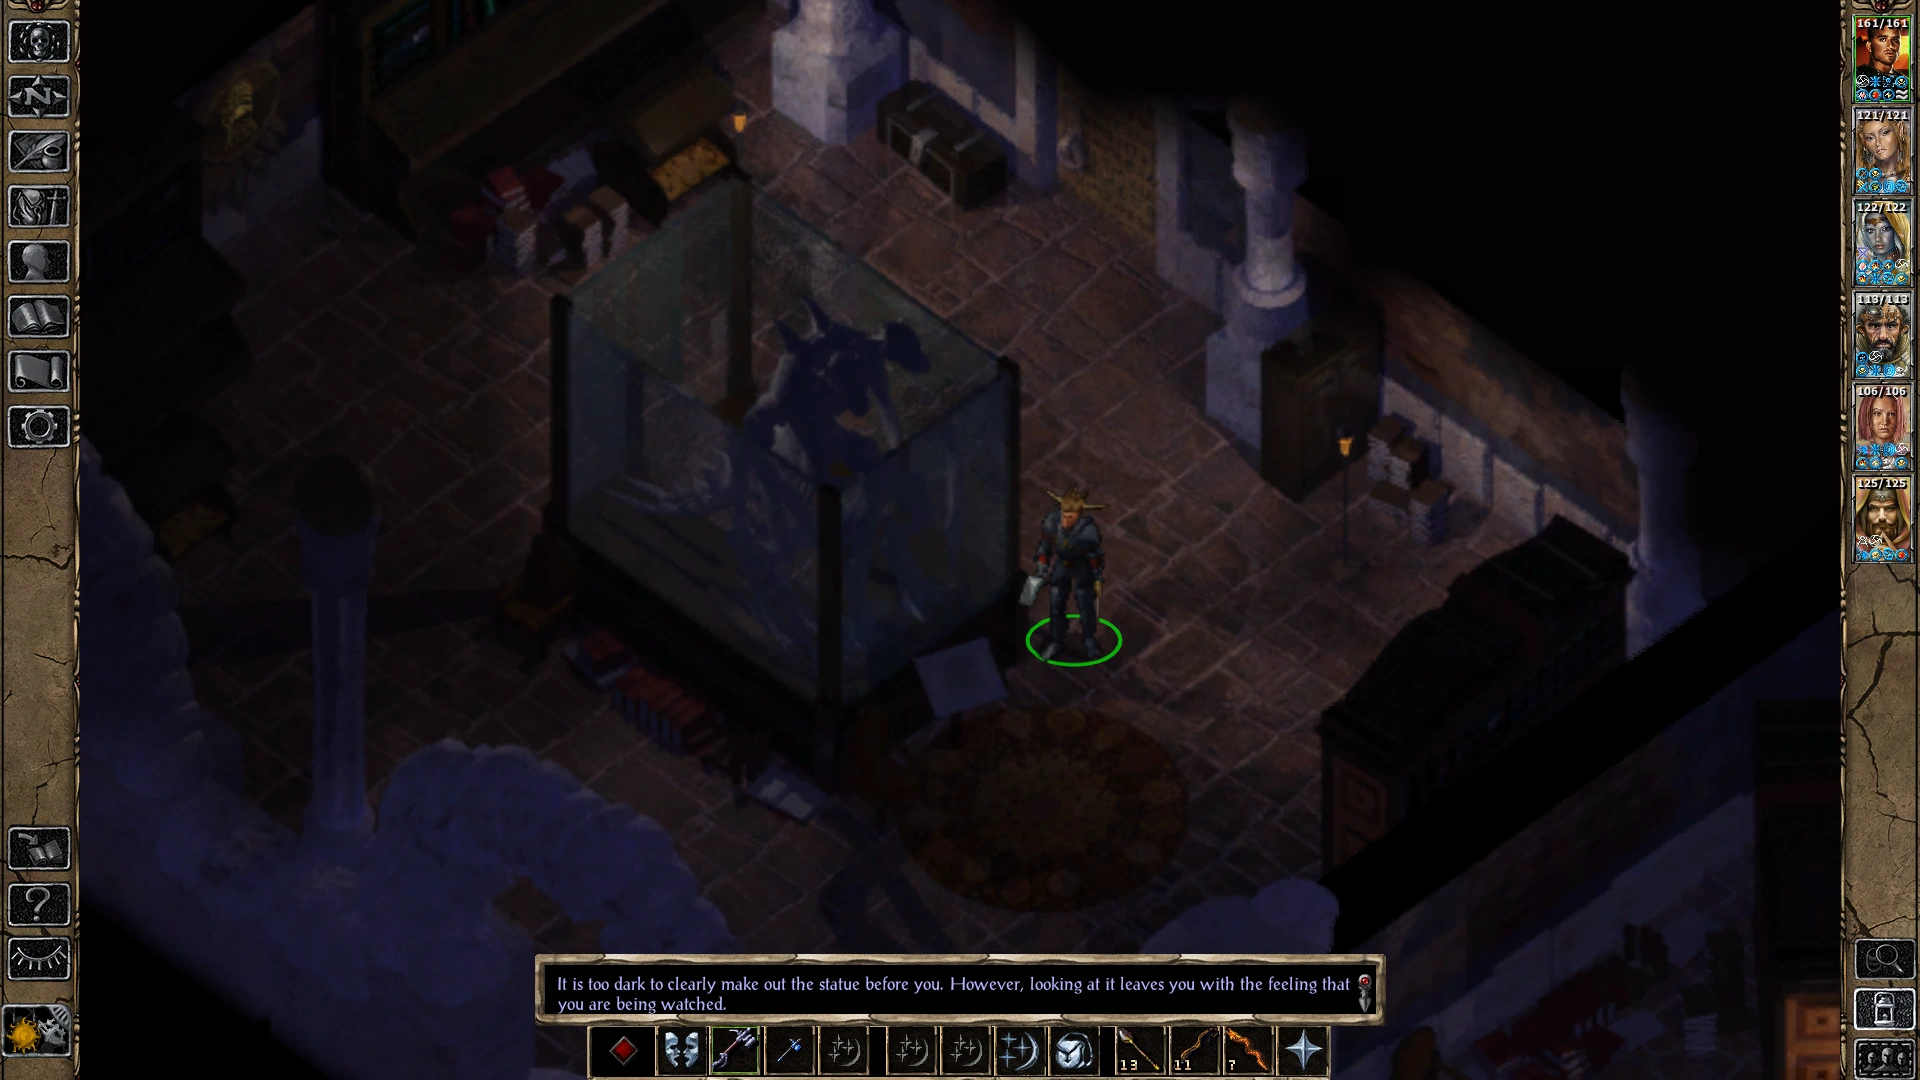
Centrally located is a rectangular box with framed supports encased with filthy and dust coated translucent material, not glass, but some other kind of substance. The faint outline of a statue or taxidermy figure is within.
Closer examination displays a text:
- It is too dark to clearly make out the statue before you. However, looking at it leaves you with the feeling that you are being watched.
On the north wall is a mounted plaque that catches your attention. It's fastened between two shelving units:
- A plaque on the wall reads: "In memory of Giltham, the loyal archivist—he tended the fire, cared for the books, and sometimes even brought us our slippers. May his spirit endure forever."
Searching the area for traps and preparation to force or pick any locks is always a good practice. As seen in previous rooms, the keep has already shown that locks and traps have been utilized earlier, so expect more of the same. They could be anywhere.
Take any items found of use as you wish. Attention to a tome entitled History of the Imprisoned One. What insight does it offer? Are there any drawings or critical information? Have a look and decide for yourself.
There is a closed door leading eastward, which connects to the main hall.
The Main hall[]
This central hall transects the keep's first level in a south to north axis. Doors to the east and west side are seen on the opposite walls.
When first entering the hall, especially from the southern end where the double doors are located from the Entrance room, the party will have an encounter.
Depending on the party's average experience level, the randomly determined spawn zone trigger will generate some hostile creatures.
These might be various Mephit creatures.
At higher experience levels the spawns will probably be a mixed group of Mist creatures.
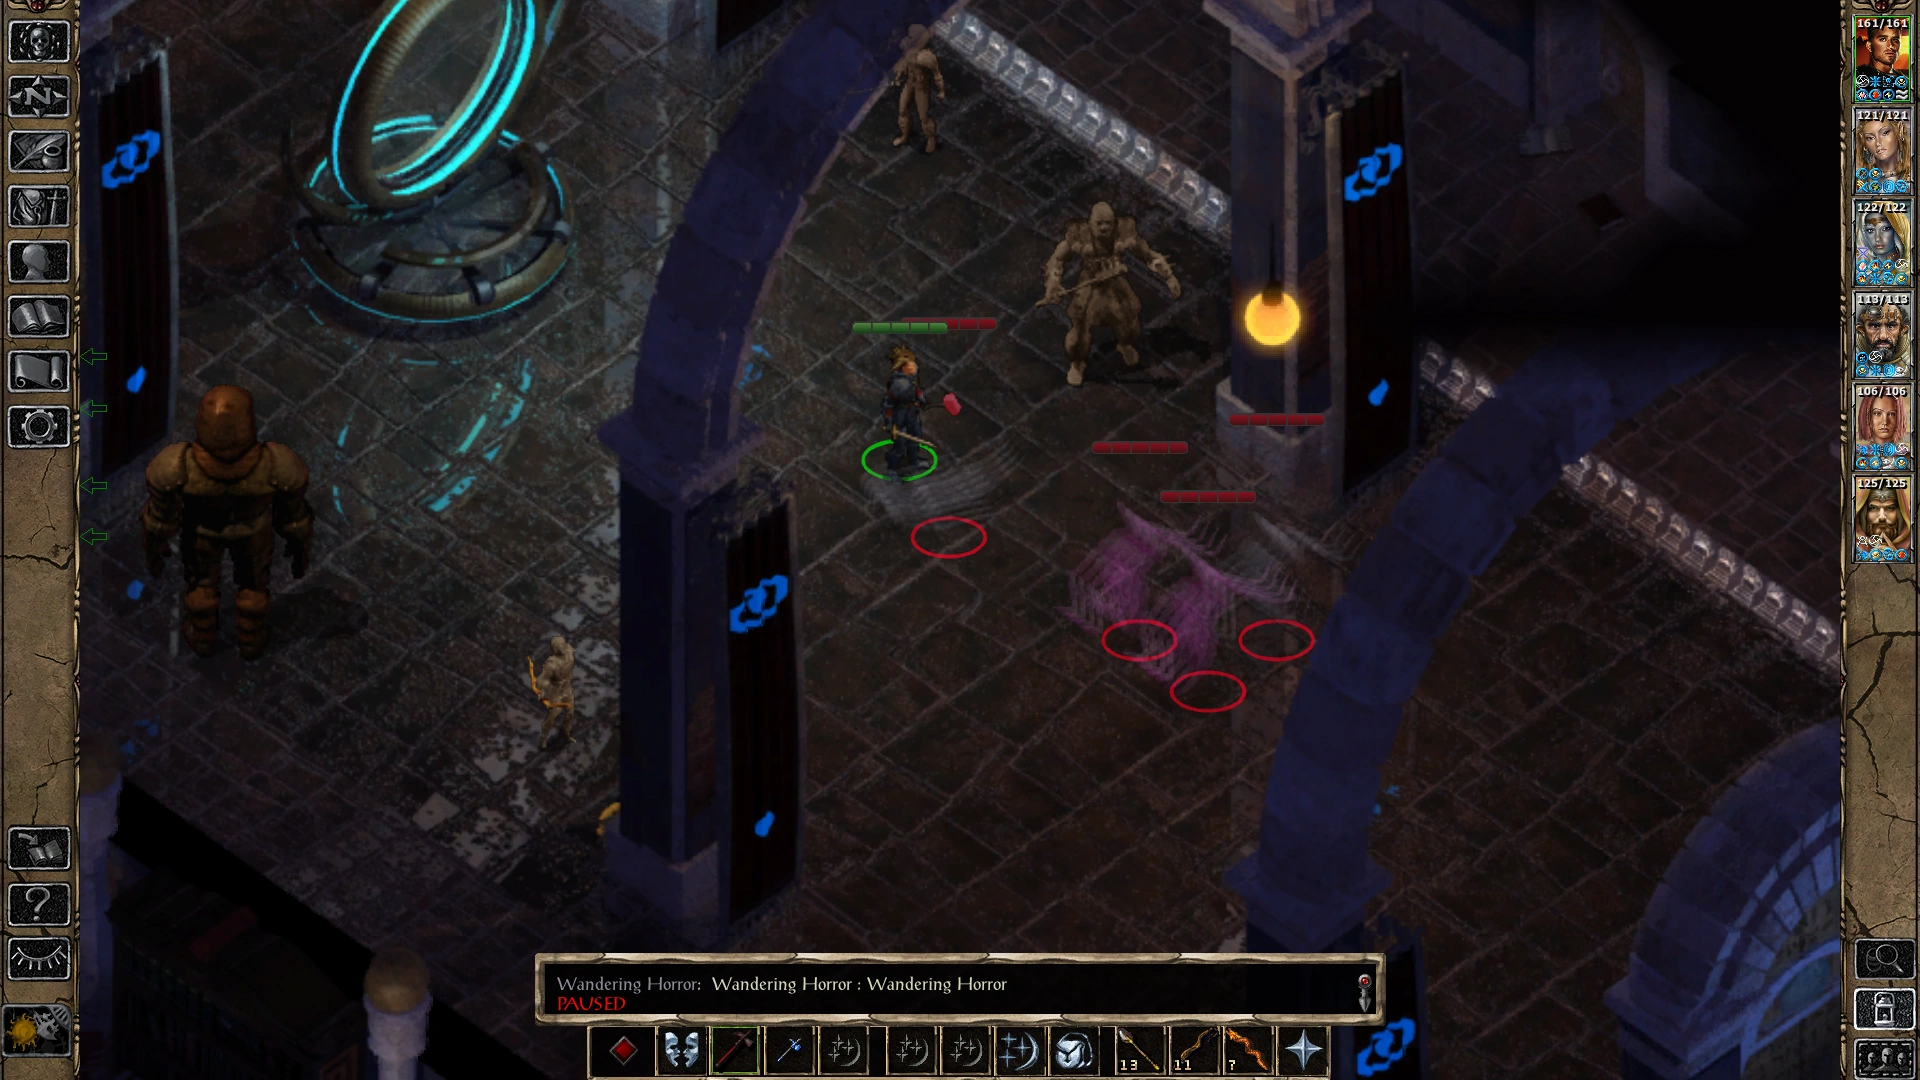
The middle portion of this grand hall holds a curious device. Examination of the object displays a description:
- In the center of the room is a large mirror—the magical gate to the lower levels of the dungeon. The portal appears inactive.
Along about half the length of the hall are a number of realistically depicted statues of various humanoid figures of different races and appearance.
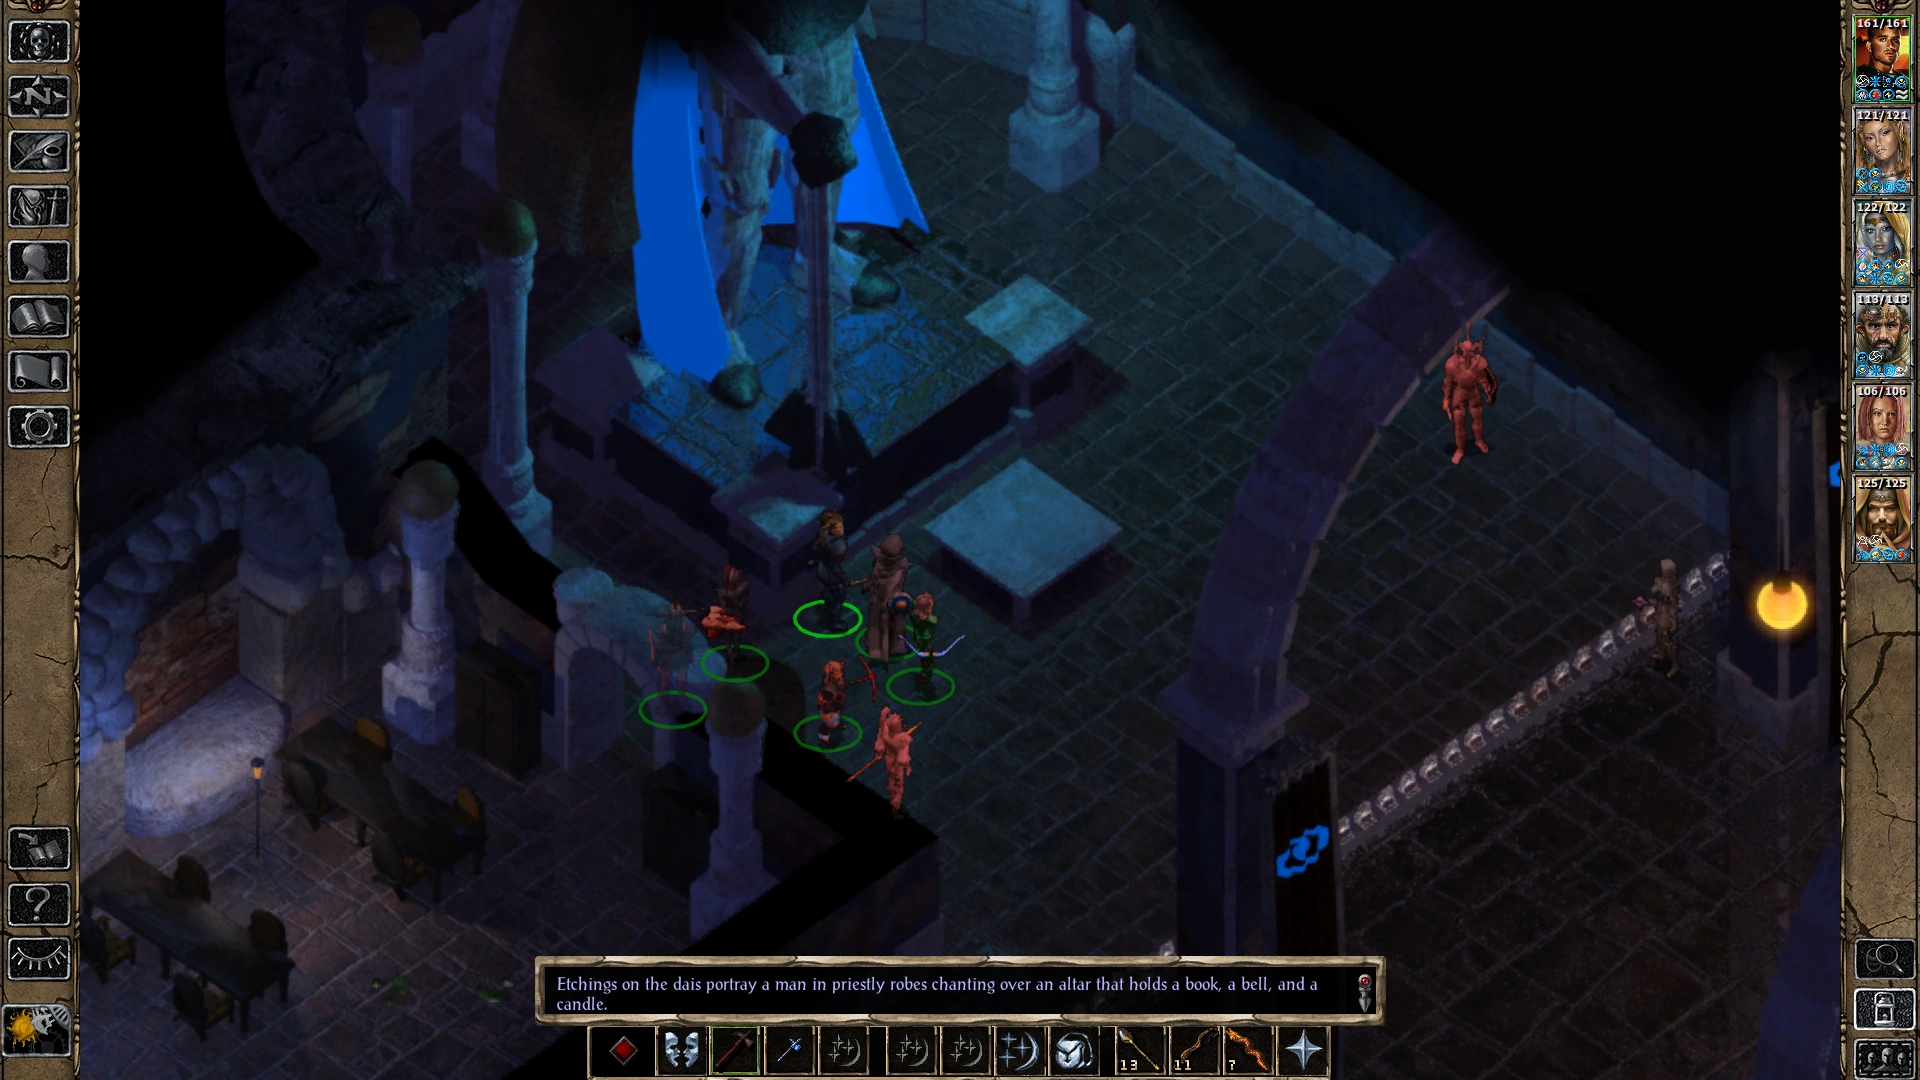
At the northern end of the hall is seen an altar, and behind that a colossal dais and statue combination. Examining the structure displays a text reading:
- Etchings on the dais portray a man in priestly robes chanting over an altar that holds a book, a bell, and a candle.
Nothing can be resolved in this hall without further exploration of this dungeon level. The party still requires some more information and items in order to open the portal.
The Kitchen and Fireplace[]
In the northwest corner of the area is a closed door. The party will need to pass through and explore what's beyond.
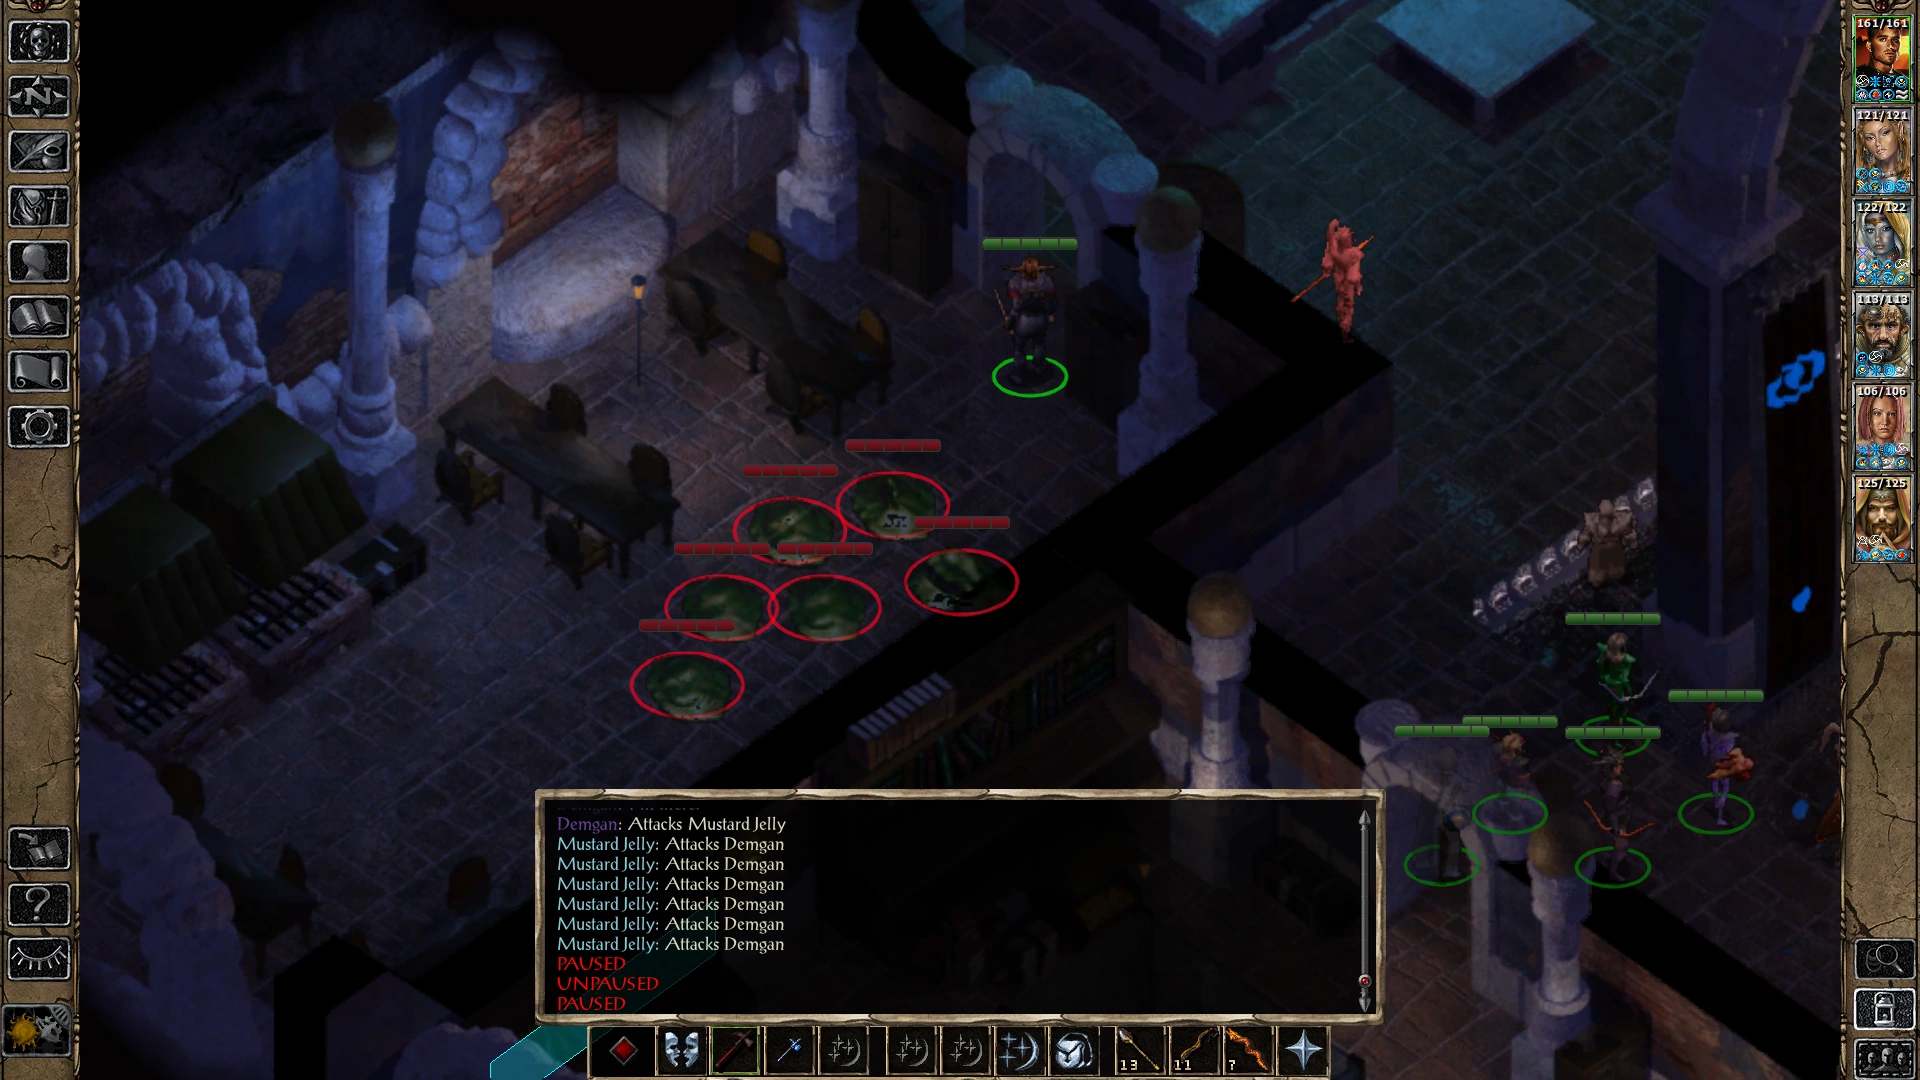
Upon entry to what appears to be a large kitchen and dining chamber, the party will trigger a random spawn encounter.
There might be various slime creatures, and perhaps an Ooze Mephit. At higher level party experience the slimes might be of the Mustard Jelly variety.
After clearing this room of the dangerous creatures, the explorers will note a few cabinets and a chest that can be searched. Take any items of use.
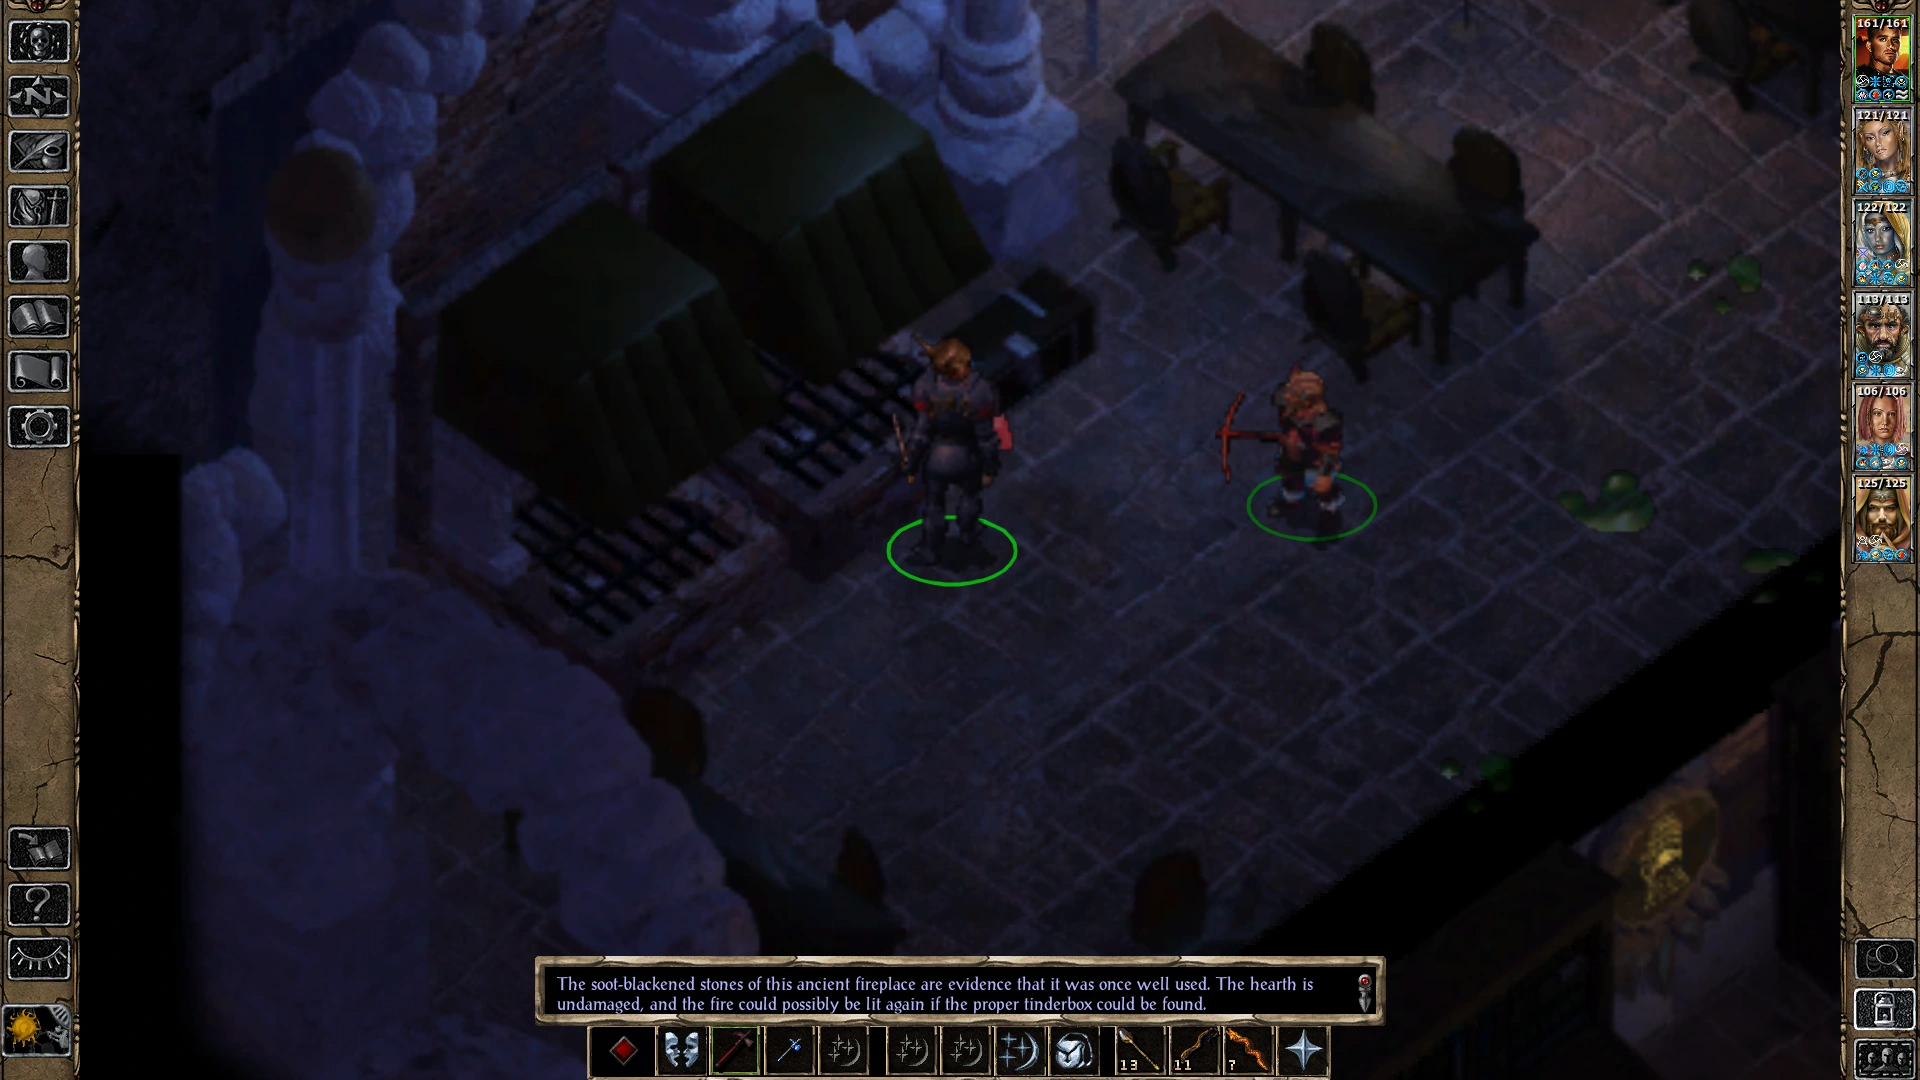
There is a disused large Fireplace along one wall - probably used for cooking and grilling purposes at one time. A text display reads:
- The soot-blackened stones of this ancient fireplace are evidence that it was once well used. The hearth is undamaged, and the fire could possibly be lit again if the proper tinderbox could be found.
If the party has already found the Tinderbox, the item can automatically trigger an action if it is possessed by the party, by "clicking" on the Fireplace. A text will display on the screen, and the hearth will roar alive with fire:
- Once lit with the tinderbox, the fireplace crackles with dancing flames which provide a cheery glow to the kitchen, and the entire room is warmed by the heat from the lively blaze.
The fireplace is filled with flames once more, and each party member is awarded 4,000 XP.
Soon after a swirl of animation magic plays, and the form of Archivist Giltham appears nearby.
Speaking with the spirit must be initiated by the player. The spirit will remark "Ahh... few things in life are as fine as the simple pleasure of a warm fire." The dialogue can continue, and the player is urged to ask questions and not just shut down the exchange immediately, as that will ensure a few clues are gained as to what to do next in order to move towards the goal of figuring out how to open up that portal in the main hall. When the player has gotten all the information it can from the Archivist, then a quest update will register in the Journal:
- Journal entry: Open the portal to the temple's lower levels
The ghost of the temple's archivist suggested I seek out the forgetful old priest—though I doubt he's even still alive.
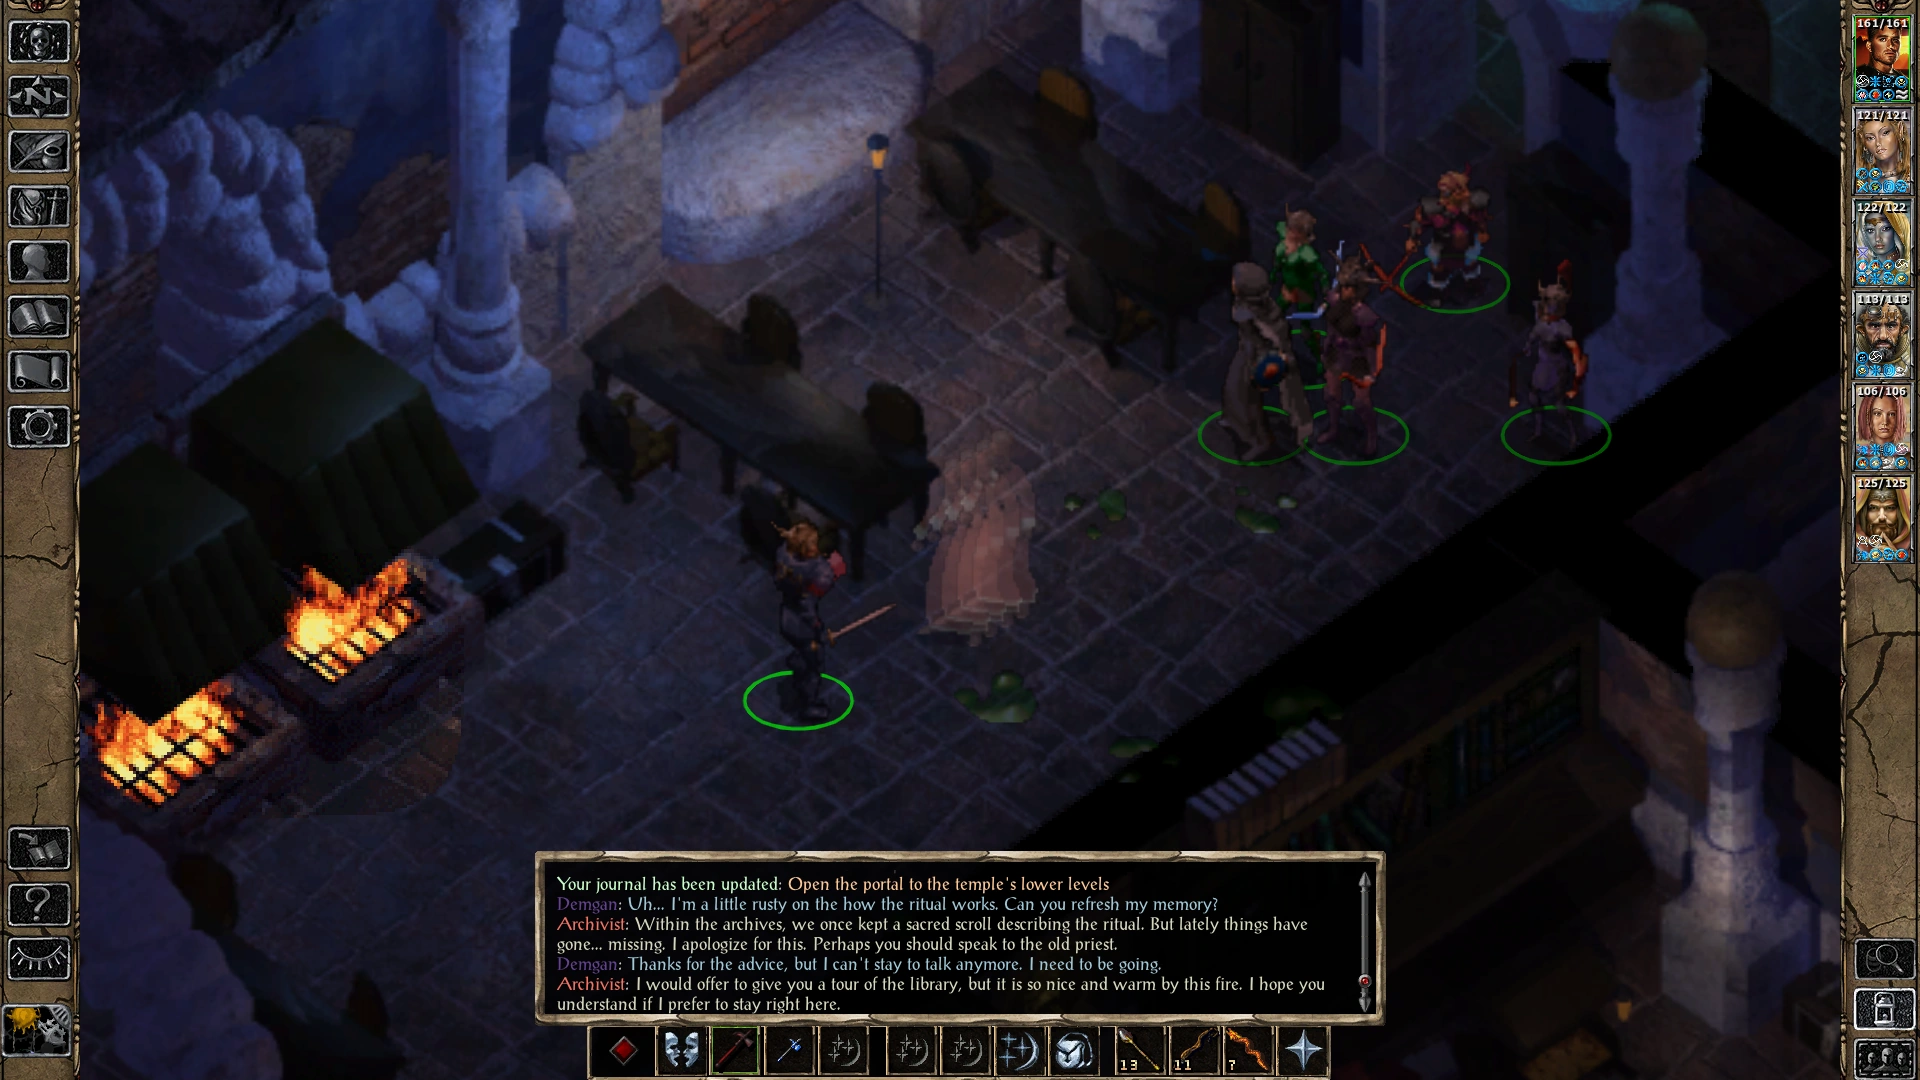
If the player asked about "how the ritual works", an additional Journal entry registers:
- Journal entry: Open the portal to the temple's lower levels
It seems the way to get down to the next level is by performing some type of ritual. Since this is a temple, I imagine the altar would have something to do with this.
The party probably still doesn't have everything needed to attempt using the altar and also needs to find that old priest.
It's time to cross over to the other side of the main hall and explore the eastern side of this level.
The Library (East)[]
There are three closed doors on the eastern side of the main hall. One of these won't open without a special key.
The other two can be opened as desired. For documentation purposes, the party decides to go throw the door to the Library (East).
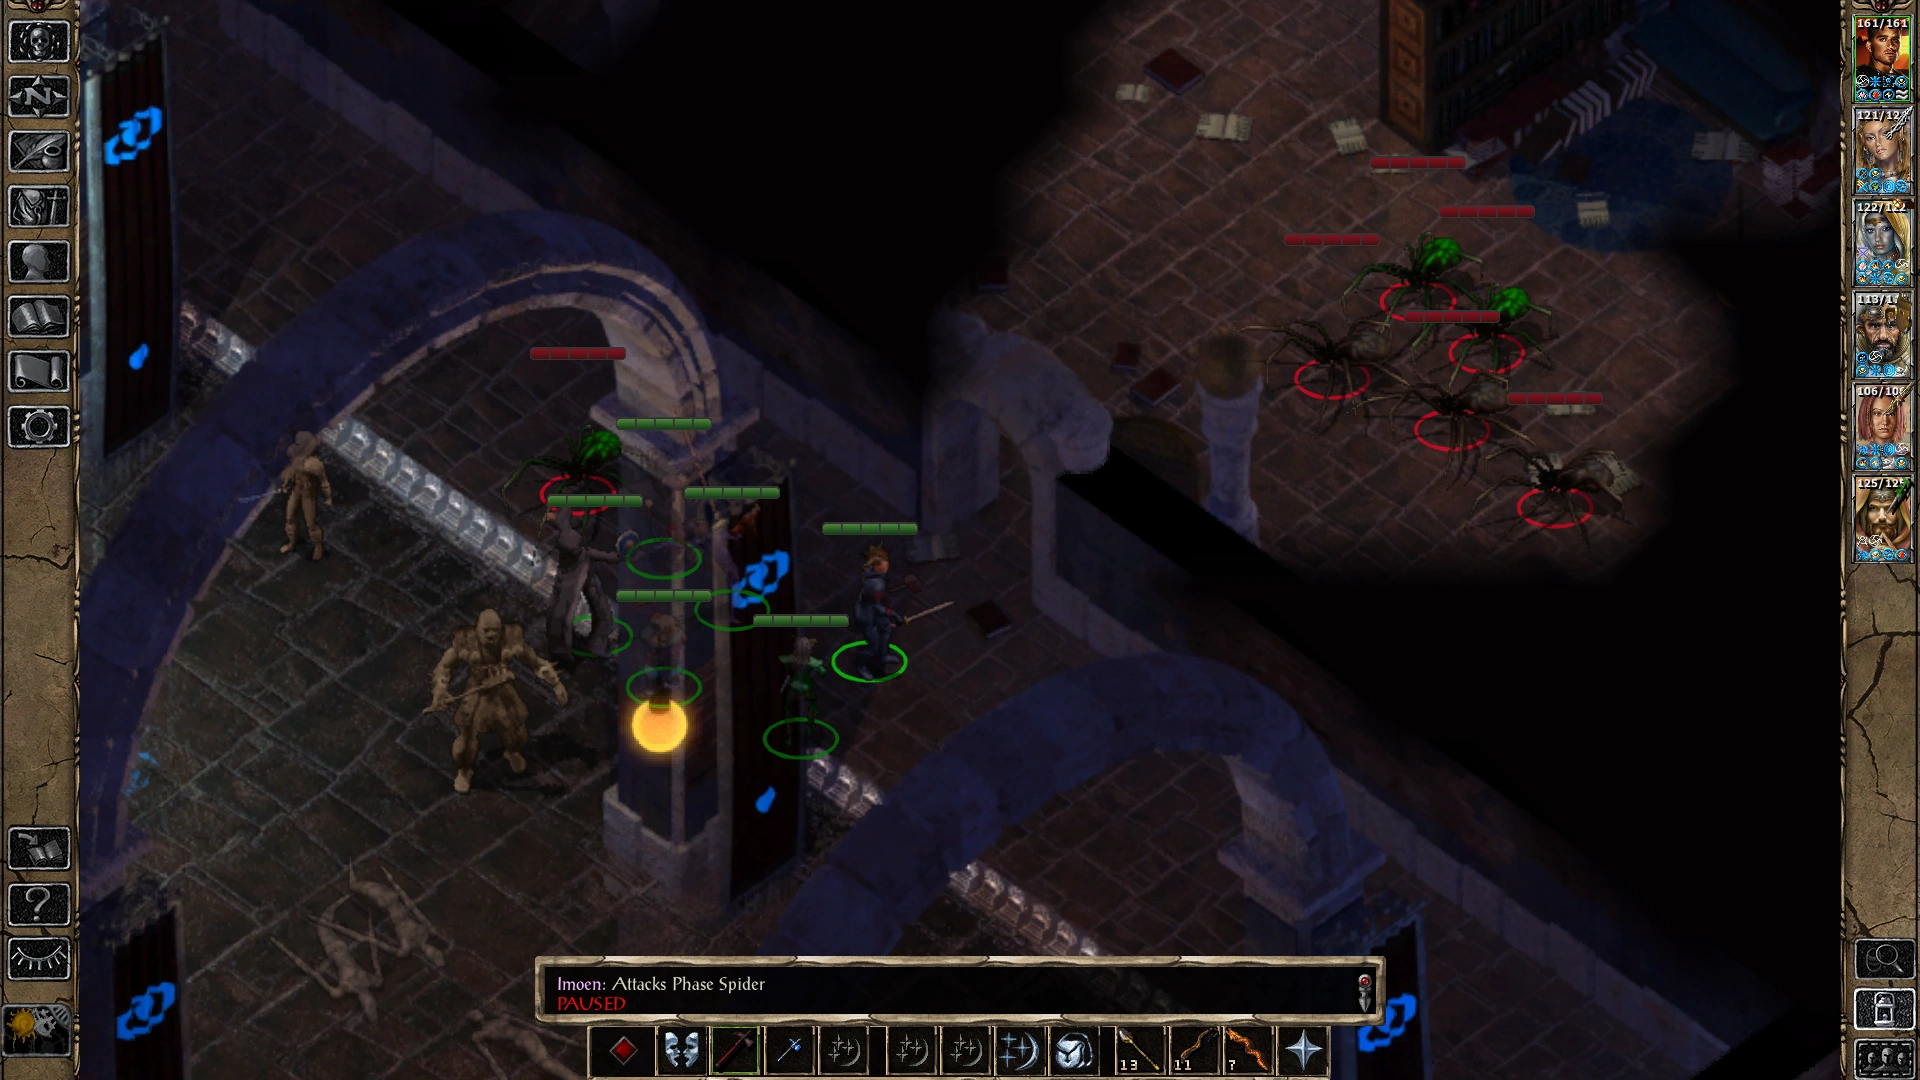
Once opened, it's not long before a group of spawned hostile enemies rush forward and attack any detected party members.
Depending on the party's average experience level, there will be a variable mixed group of attackers - possibly composed of Ettercap, Giant Spider, Phase Spider or Sword Spider creatures to contend with.
Once those are dealt with, the party observes another library room, with some evidence of disarray and potential vandalism. There are various shelving units covered in dust, webs, cobwebs and some tomes and parchment. Several sofas and tables are present for library patrons. On the north and south walls of the room are seen closed doors.
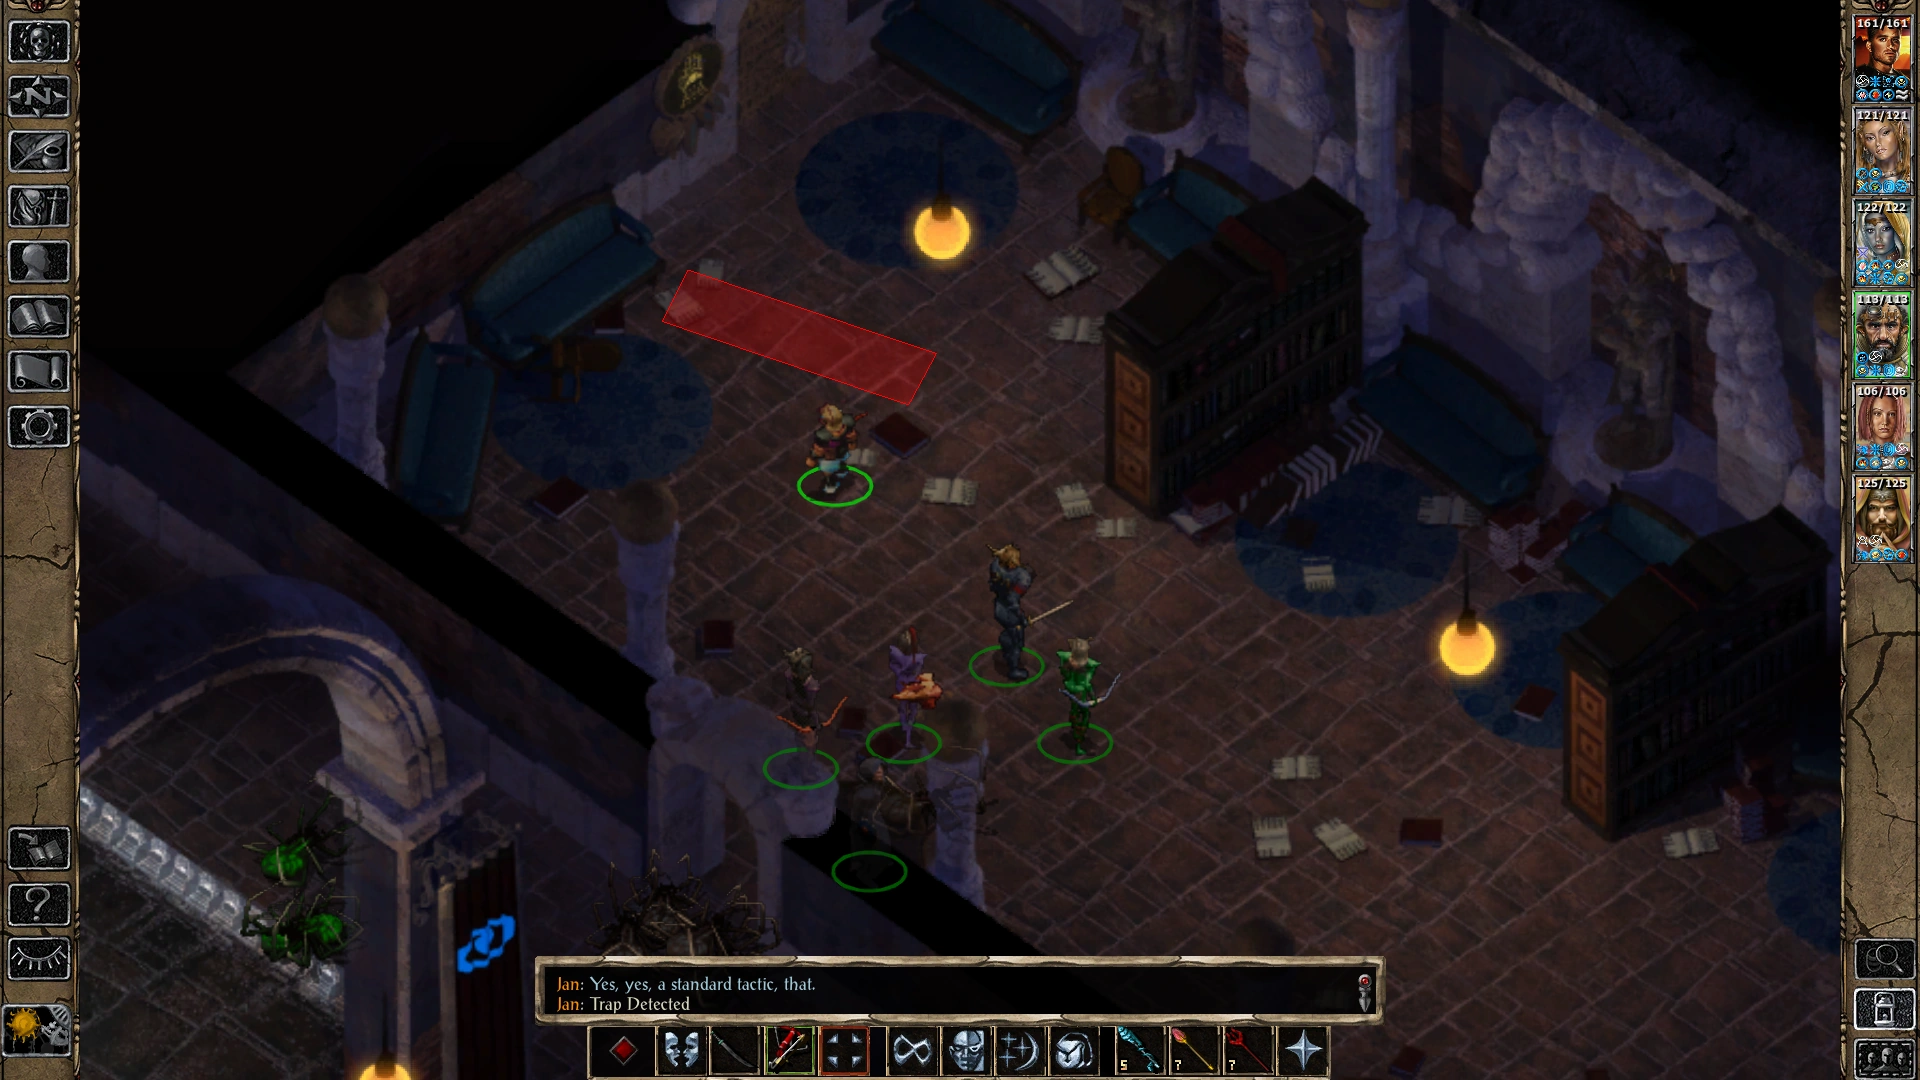
As is good practice, check for traps and hidden hazards when searching the area. Take any found items you desire from the shelves.
One of them contains a strange stone that has been split in half. At the moment, the party has no idea what use, if any, this half-stone might have.
When ready, open the door leading northbound. There is a small plaque next to the doorway, identical to the one mounted in another room on the west side of the level.
The Bedchamber[]
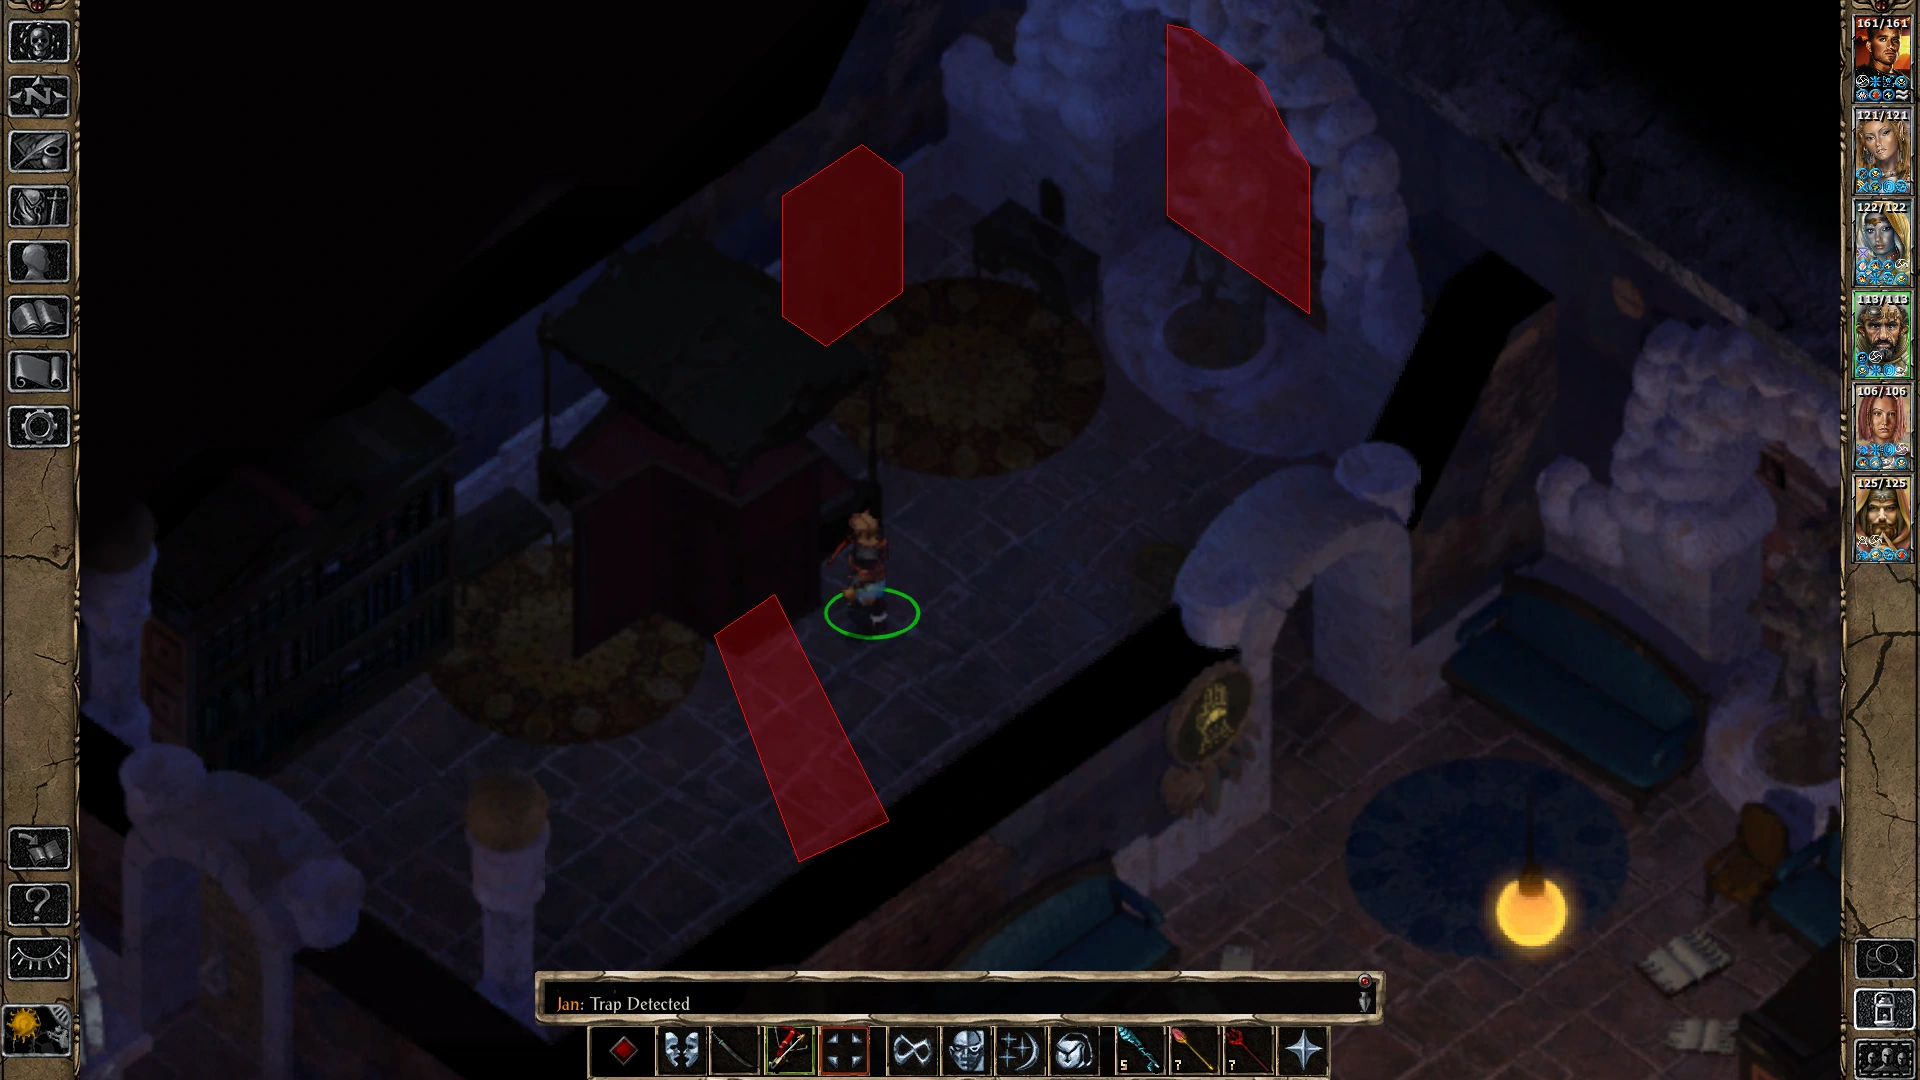
An unoccupied bedchamber is seen ahead. As always, search carefully for booby traps and hazards.
Within are a four postered canopy bed, and several furnishings. There is a statuette in an alcove. Some of these may contain items that can be removed and kept. There is some unique equipment here that is sure to come in handy.
A Scribbled Note can also be found, plus a Tinderbox, and a pair of Old Slippers.
Nest stop is The Study.
The Study (Rune room)[]

Open the closed door at the south end of the library (east).
Upon stepping forward a text message display is seen on the player's screen:
- Unlike the other rooms, there appear to be no monsters in here. The runes inscribed on the floor and walls just inside the door to this room are similar to those at the main entrance to the temple.
Shelves on standing desk and a closed cabinet contain items that can be taken.
Another Tattered Parchment is found, as well as a curious stone that has been cut in half.
On the west wall is a closed door.
Bedchamber (Southeast)[]
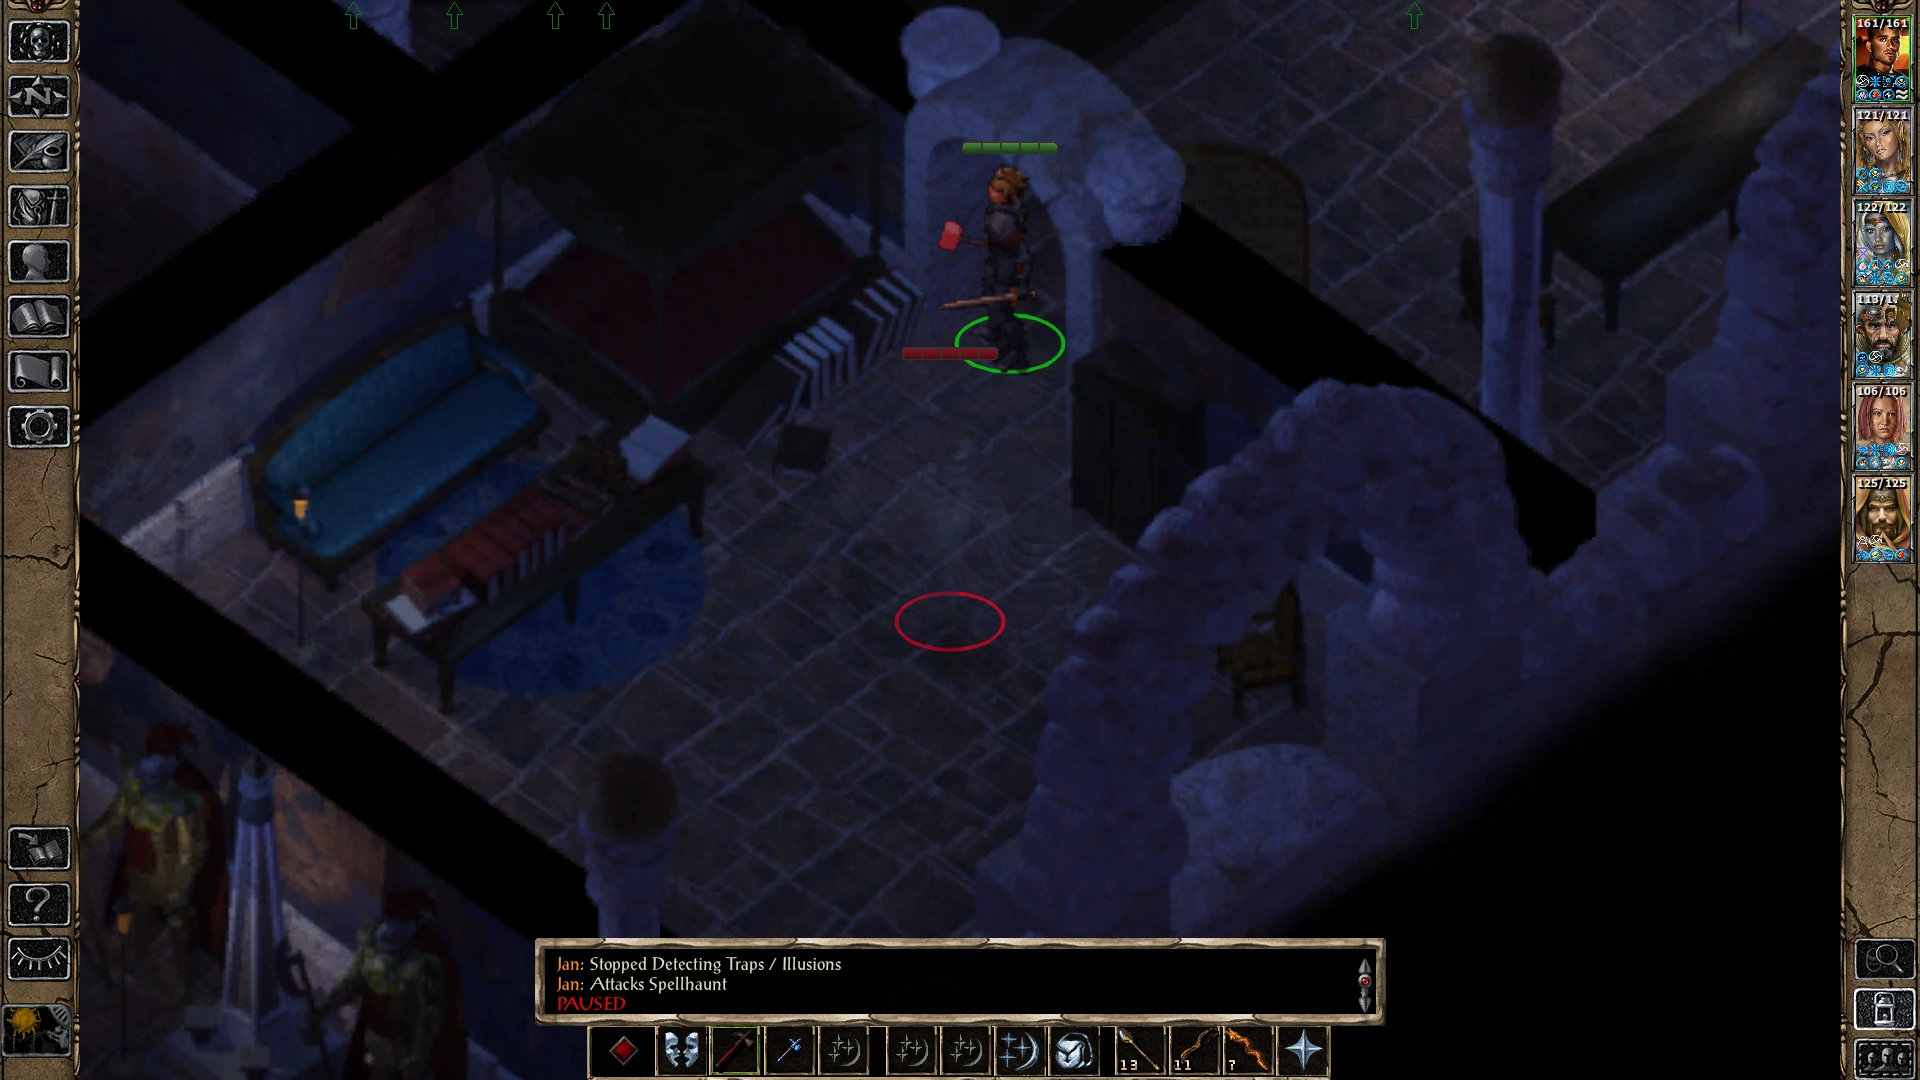
Open the door and see another bedchamber. Also some kind of intangible enemy creature floats toward the intrusion.
A hostile Spellhaunt attacks. Destroy this undead malign creature before it can cause harm.
This bedchamber is furnished well. A search of the space turns up no traps or locks.
A valuable gemstone is found, and on table is a dusty key.
This might be the one needed to open the Crypt door, which has defied attempts to lockpick or be forced.
The Priest's Crypt[]
Finally, with the key in hand, the party can see if it fits the door to the Priest's Crypt. It does.
With the double doors opened, a large ornate chamber is seen. Symbolic statue figures are set in alcoves on the walls. A marble sarcophagus is the focal point of the room.
Two hulking Guardian Golem creatures stare blankly at the party as they enter. Their heads and necks move slightly to follow the movement. They don't appear hostile.
If the player examines the sarcophagus, a text message is displayed, reading:
- There is an inscription on the sarcophagus. "Here lies our faithful servant. Despite a somewhat suspect memory in his later years, he served with duty and honor." If you wanted to, you could move the heavy lid and peer inside the sarcophagus.
With little else to try, a party member can interact with the sarcophagus and look inside. This action will stimulate the guardians to attack, but if the player's party has possession of the Wardstones, then the golems remain neutral and passive.
Once the sarcophagus is opened, a test message is displayed:
- You push the heavy lid aside, but before you can inspect the contents, there is an angry roar. You sense you have business to take care of before you can properly examine the inside of the sarcophagus.
At this point to the right of the sarcophagus, a lich-priest rises from the Crypt floor in a cut scene. The creature will know if you have the Old Slippers in the party's inventory, and if so, the undead priest will ask for them. If the slippers are given to the creature, it apologizes for its outburst, expresses gratitude for the slippers, and let's the party know they are free to have a look in the sarcophagus. The creature then disappears, never to be seen again.
On the other hand, if the player refuses to give the undead creature it's slippers, or if they aren't in the party's possession - then the lich will say a few menacing words and attack.
Assuming the party is able to defeat the creature, then the sarcophagus may be examined at the player's discretion. When done, a text is displayed that reads:
- Inside the sarcophagus lie the remains of the old priest's possessions. Woven into the sleeve of his ceremonial robe is the following: Holy Ritual—Chapter XII, Verse XIV. You make a mental note of it.
Subsection[]
Guide Needs - work, missing details, wrong in some parts[]
- In the center of this area, you will find the portal to the 2nd level. It is inactive, however, and needs to be activated.
- In one of the rooms on the northeast side of the area, you will find the Tinderbox and the Old Slippers.
- In the west corner of the area, next to the altar, you will find the kitchen. Use the Tinderbox to light up the fire and the ghost of the Archivist will go to it for its warmth. He will suggest you speak to the old priest.
- Take the two Wardstones and the key from each of the three rooms in the east corner.
- With the key you can open the door to the priest's chamber in the north corner. The Wardstones will prevent the guardian golems from attacking you. Click on the sarcophagus a couple of times and give the Old Slippers to the priest to placate him. Click on the sarcophagus once more and you will take note of a verse from the holy book written down.
- Take the Candle from the chest in the kitchen and the Bell from the shelf in the room next to the kitchen. Place both items on the altar in front of the big statue, then the nearest set of four statues will attack you.
- Once you have destroyed the statues, you will need to perform the ritual: ring the bell twice, light the candle, open the book, and then ring the bell once more – and the portal to the 2nd level will open, while the rest of the statues will also become active and attack your party.
Creatures[]
Potential Enemies[]
- Air Mephit random spawn
- Ettercap random spawn
- Fire Mephit random spawn
- Green Slime random spawn
- Guardian Golem (×2)
- Ice Mephit random spawn
- Mustard Jelly random spawn
- Ochre Jelly random spawn
- Ooze Mephit random spawn
- Poison Mist random spawn
- Phase Spider random spawn
- Shadow random spawn
- Shadow Fiend random spawn
- Smoke Mephit random spawn
- Spectral Troll random spawn
- Spellhaunt
- Spirit Troll random spawn
- Statues (WK Altar Level)
- Stone Golem
- Sword Spider random spawn
- Troll random spawn
- Vampiric Wraith random spawn
- Wandering Horror random spawn
- Wraith random spawn
Treasure (See Map notes on InfoBox)[]
Altar[]
T1[]
- Paladin's Bracers
- Arrow (×80)
- Arrow of Piercing (×40)
- Bolt (×80)
- Bolt +1 (×40)
- Bullet (×80)
- Bullet +1 (×40)
- Dart (×80)
- Throwing Dagger (×60)
- Throwing Axe (×60)
- Antidote (×6)
- Potion of Extra Healing (×4)
- Wand of Sleep (×10 charges)
- 362
 + 250
+ 250 - Random treasure
- Books (×8)
Library[]
T2[]
T3[]
- Bullet +2 (×40)
- Wand of the Heavens (×8 charges)
- Candle
- Arrow +3 (×20)
- Bolt +3 (×20)
- Random treasure (×2)
- Books (×8)
T4[]
T5[]
T6[]
T7[]
Statues[]
Gallery[]
")
")
Mod content[]
- This section is about unofficial content that is only available via fan-made mods.
Installation of the Golem Construction for Spellcasters mod changes the appearance of the two Guardian Golem and Statue Golem creatures. The Stone Golem on this level is also changed to a "Greater Stone Golem" creature, with extra powers and more robust vital statistics. See the Mod screenshots section for additional visual info.
Mod gallery[]
")
")
")
Portraits from Portraits Portraits Everywhere
Mod gallery screenshots[]
| Watcher's Keep |
Watcher's Keep • 1st Level: Altar • 2nd Level: Elemental • 3rd Level: Teleport Maze • 4th Level: Machine of Lum the Mad • 5th Level: Final Seal • 6th Level: Imprisoned One |